A Vegan Obsession

  • Home
  • Recipes
  • Travel
  • Product Reviews
  • Giveaways
  • News & Interviews
  • About
  • Contact

Blogger Pie! Round Up Of Vegan MoFo Blogging Moments

September 29, 2013 by India Leigh

Blogger Pie!  Round Up Of Vegan MoFo Blogging Moments

These shortbread rings are filled with a paste of hazelnut, chocolate and cacao butter! Seitan Is My Motor


The last day of Vegan MoFo 2013, arrives tomorrow.  It has been such a fun experience.  Humbling too, to be among such Vegan Blogging greats.  Bloggers from around the world who I have followed for years, in awe of their creativity and life changing recipes.  I pushed all my posts out in one concentrated hit of 20 days (the allotted minimum) as I was due to fly to Sweden.  My days were fraught with repeated trips to shops, my hands raw and prune like.  If they weren’t stirring or whipping or chopping they were elbow deep in suds.  I’m going to miss it all.  It was a buzz.

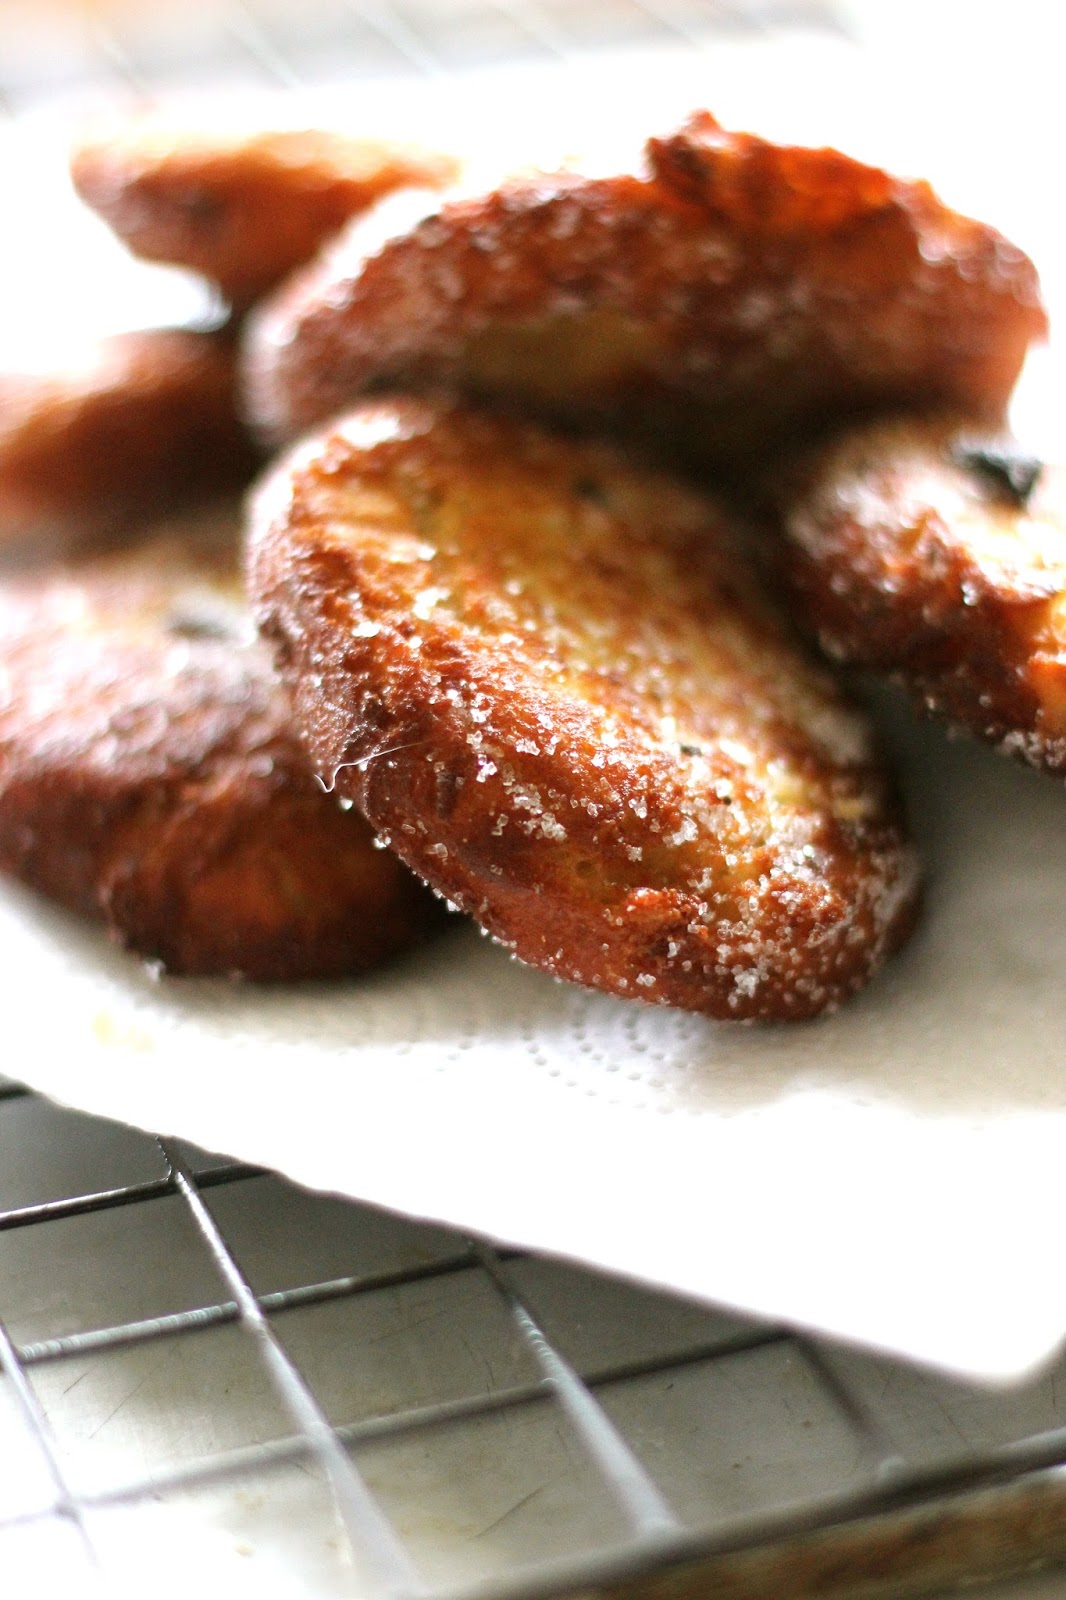
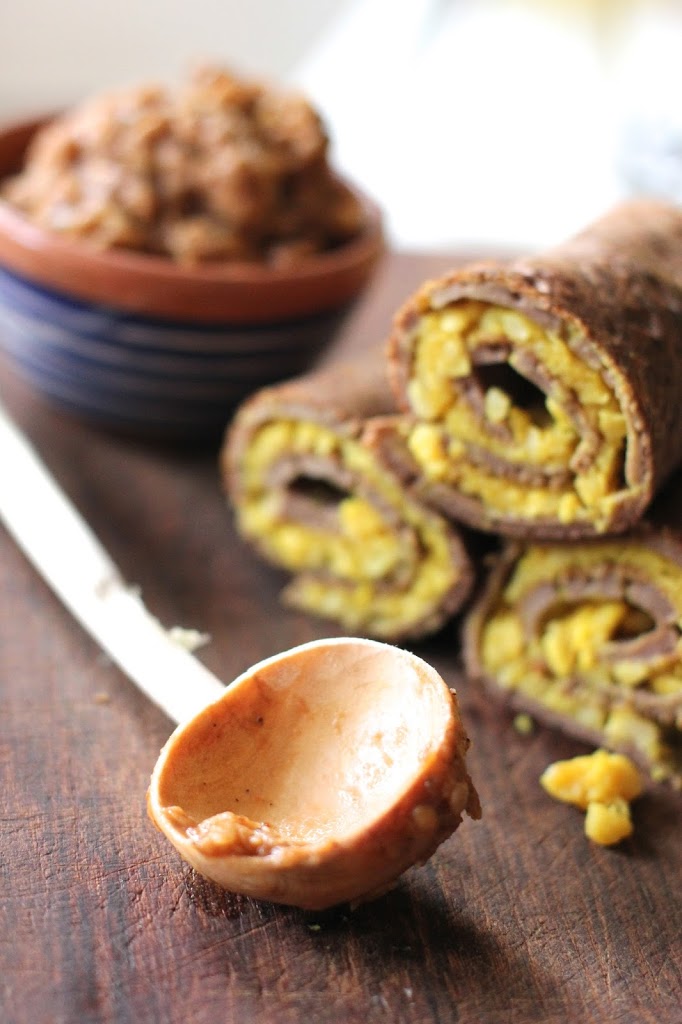
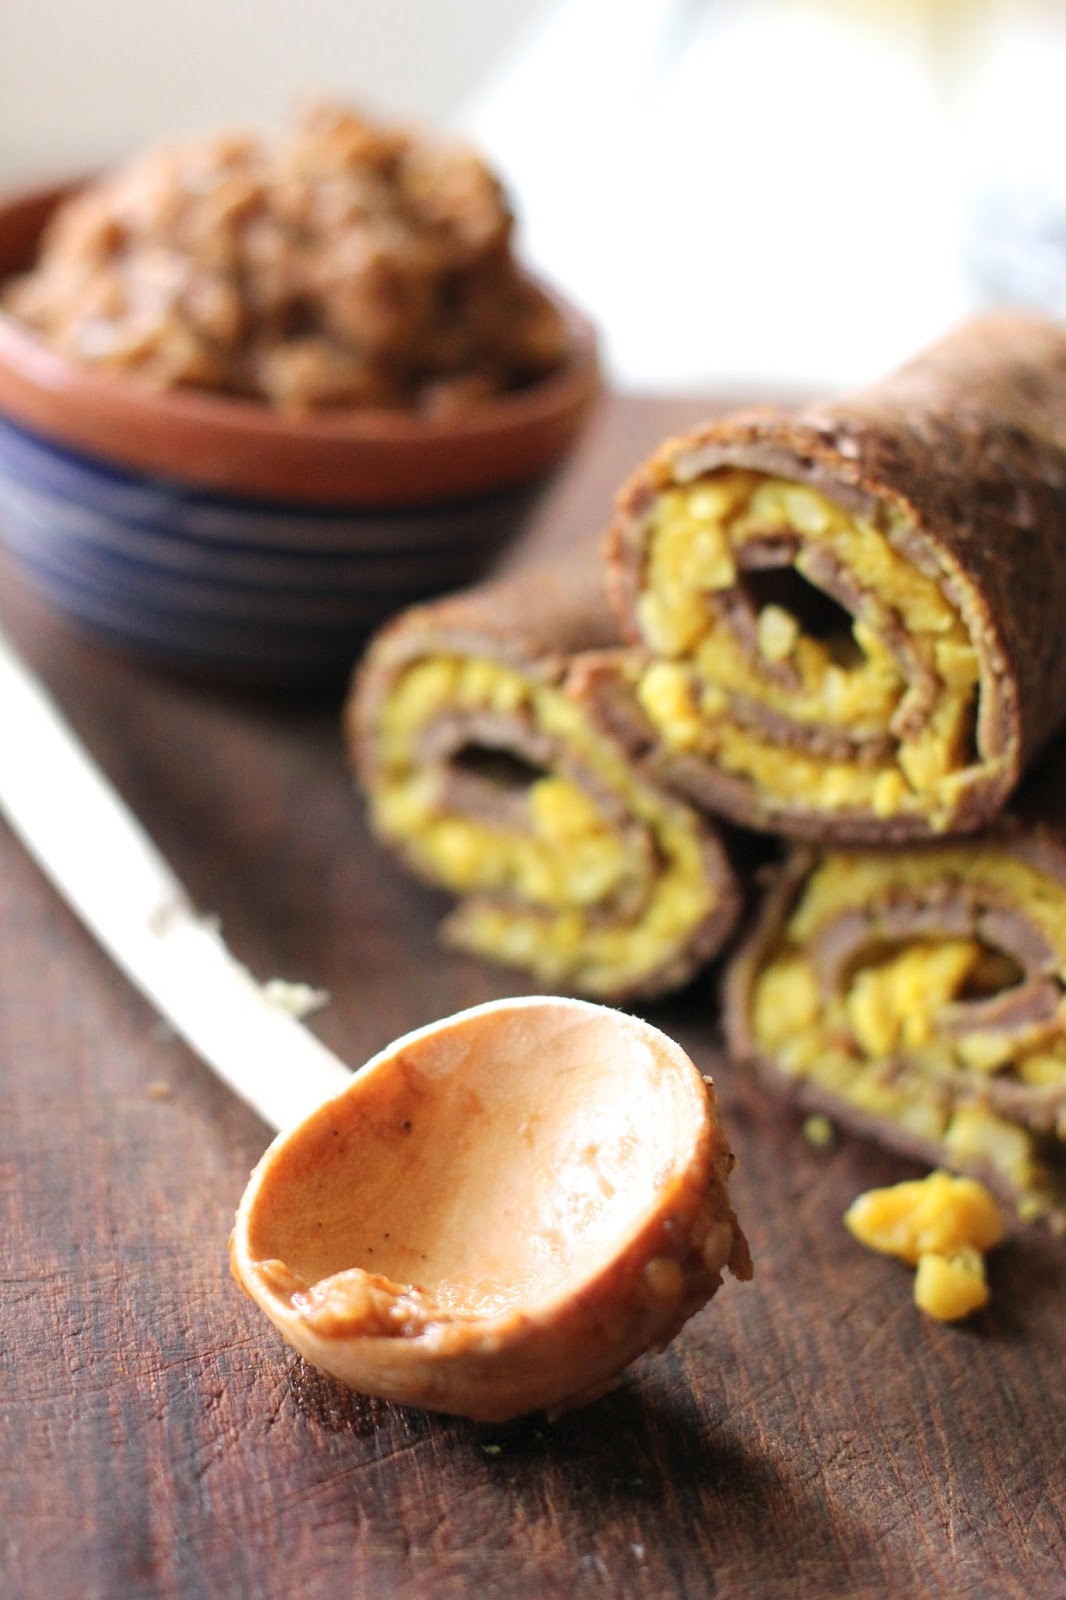
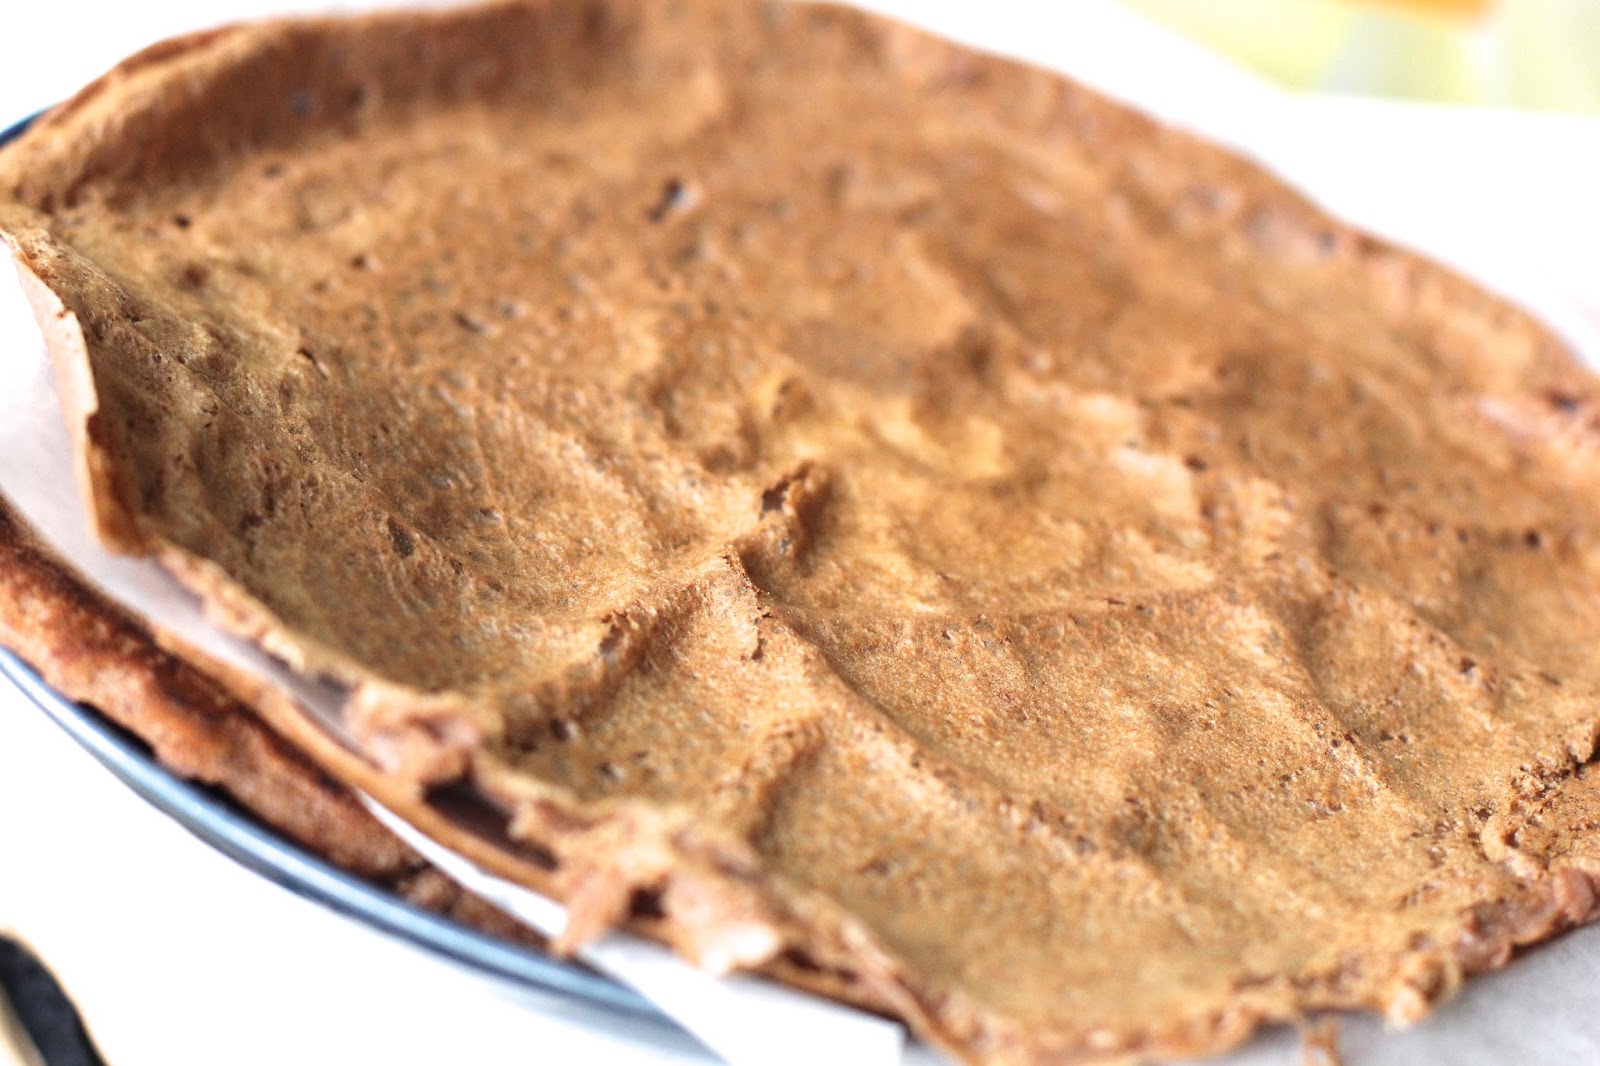
I wanted to tell everyone about the recipes of my fellow Vegan MoFo’ers.  My inbox overwhelmingly full of recipes everyday.  What will I do without them?!!  Of course it would be impossible for me to list all I have witnessed this past month.  So I selected a random few.  Thank you to all those bloggers who made September so fun.  You have inspired me!  Some were totally outside the box, like the wonderful savoury cupcake creations from .  Others, like Veg Hot Pot, made me appreciate the nostalgic flavour of my own country.

English Breakfast Cupcakes from The Vegan Kitchen Of Dr Caligari


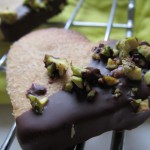
VGNGF Lemon Cheesecake made with white beans?!!


Coconut and Berries blogged her way through the alphabet


Mini Marzipan Pies - Seitan Is My Motor part of her German Classic Desserts. Not only does she blog amazing food but she is German and writes perfect English!


Veggie On A Penny made gorgeous Pineapple Cheesecake Bars


Kittee from Cake Maker To The Stars delighted me with her fun penchant for including her feet in her food photography..and she is an injera devotee, like myself!


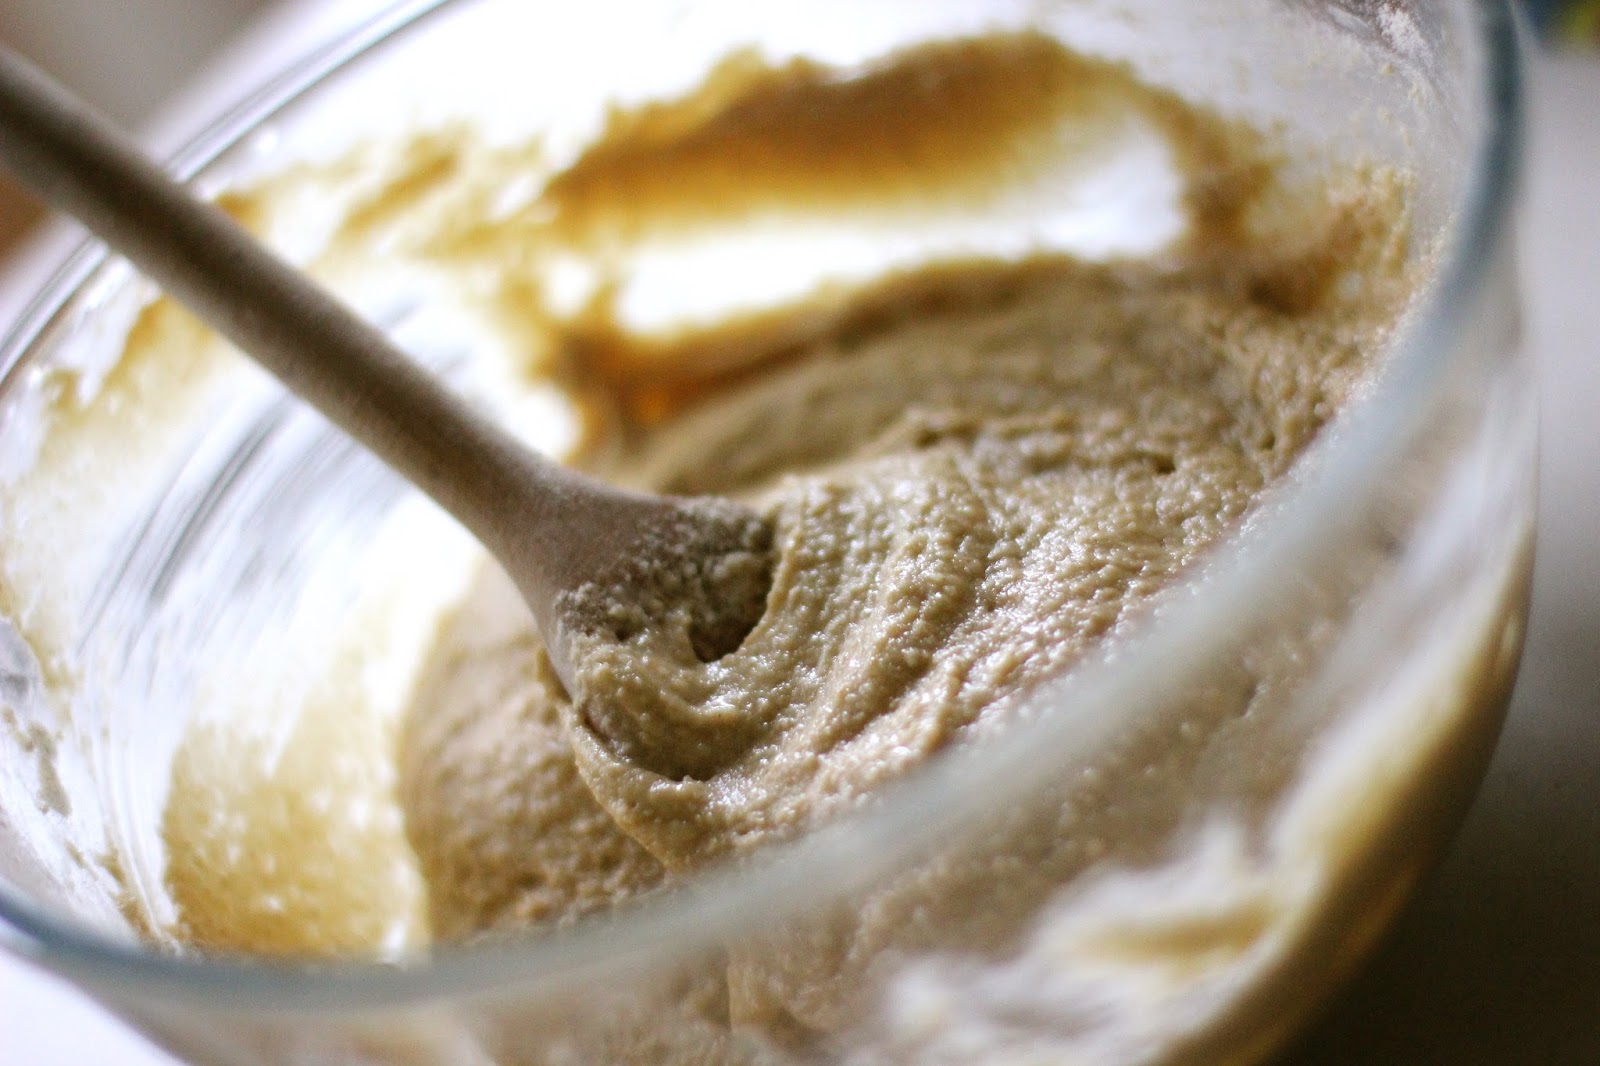
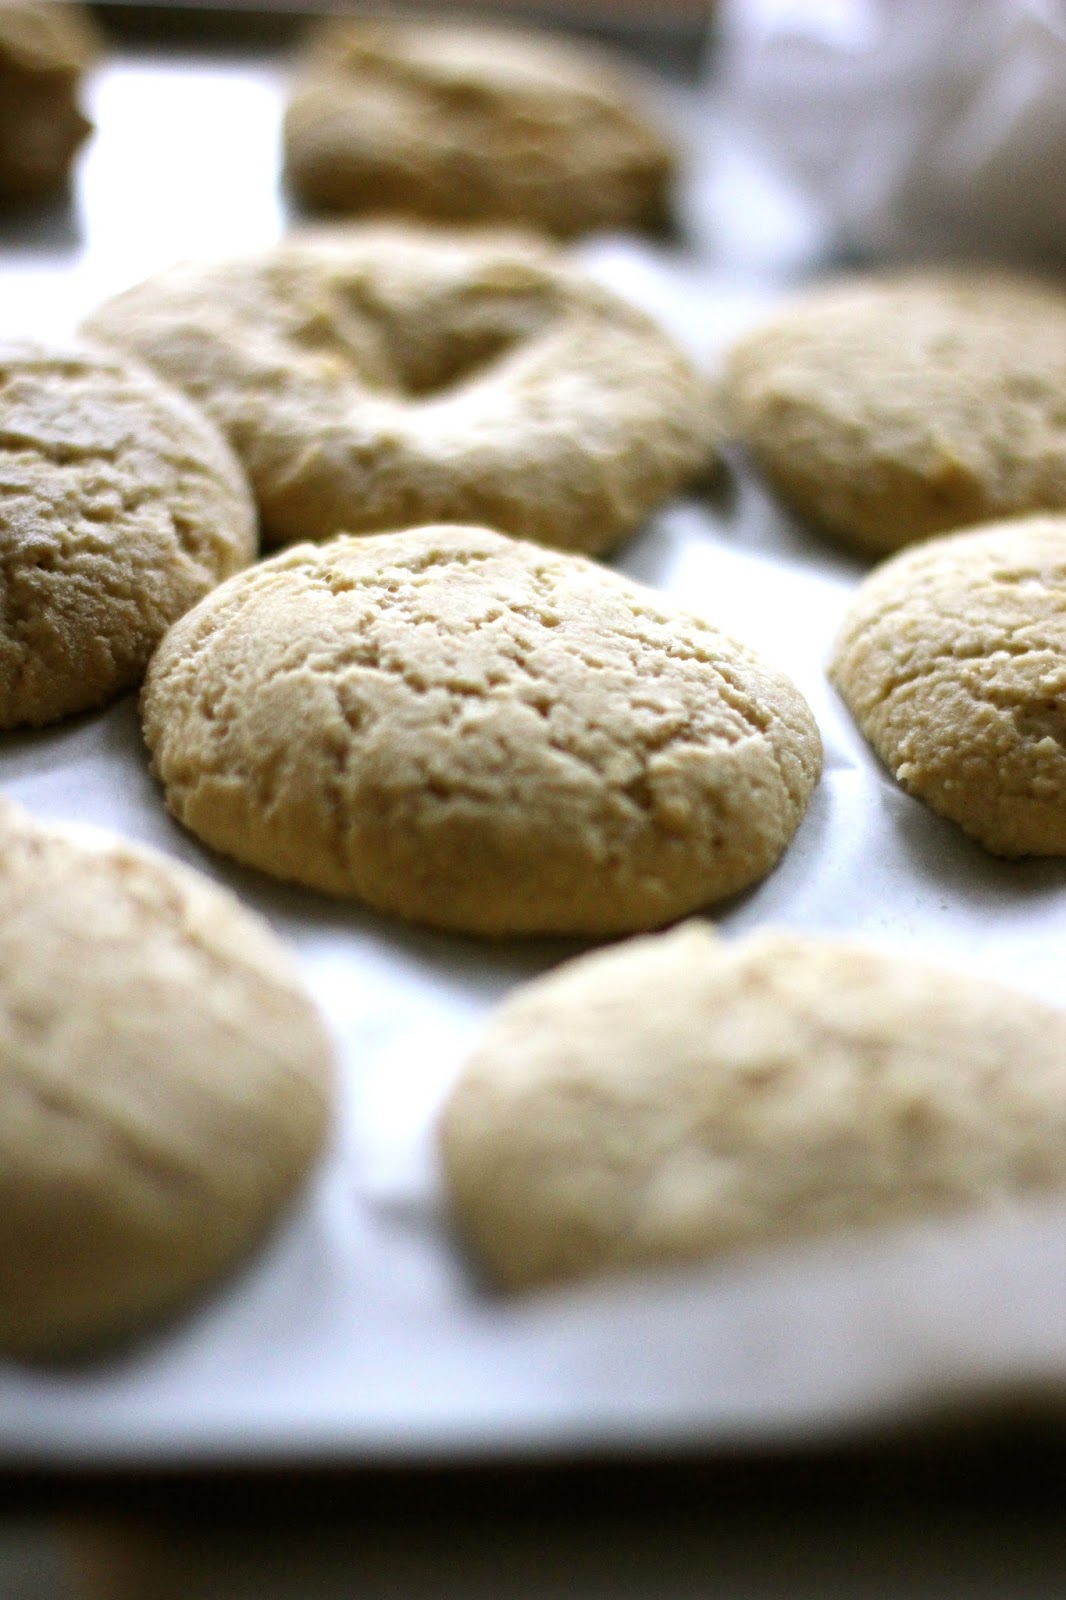
Some bloggers chose a theme to post about for the whole month.  This one was all about peanut butter!


Roasted Fries Smothered with a Combo Of Smoky Spicy Peanut Butter Sauce and Blackberry Sauce


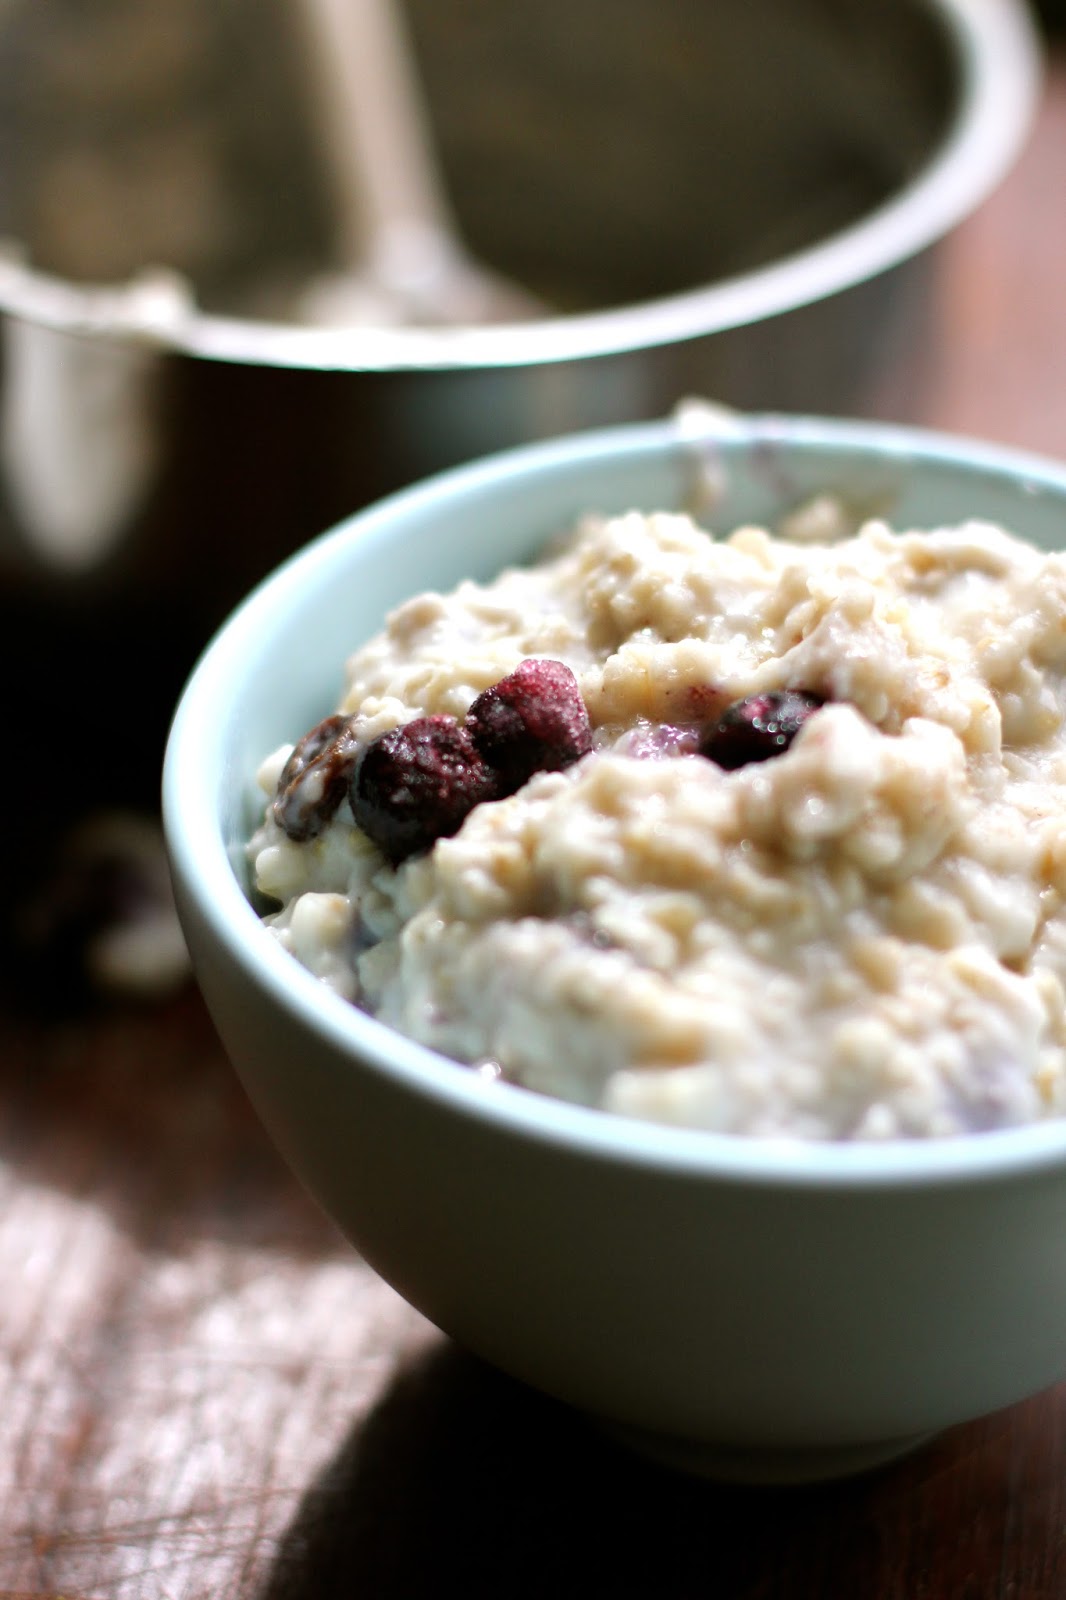
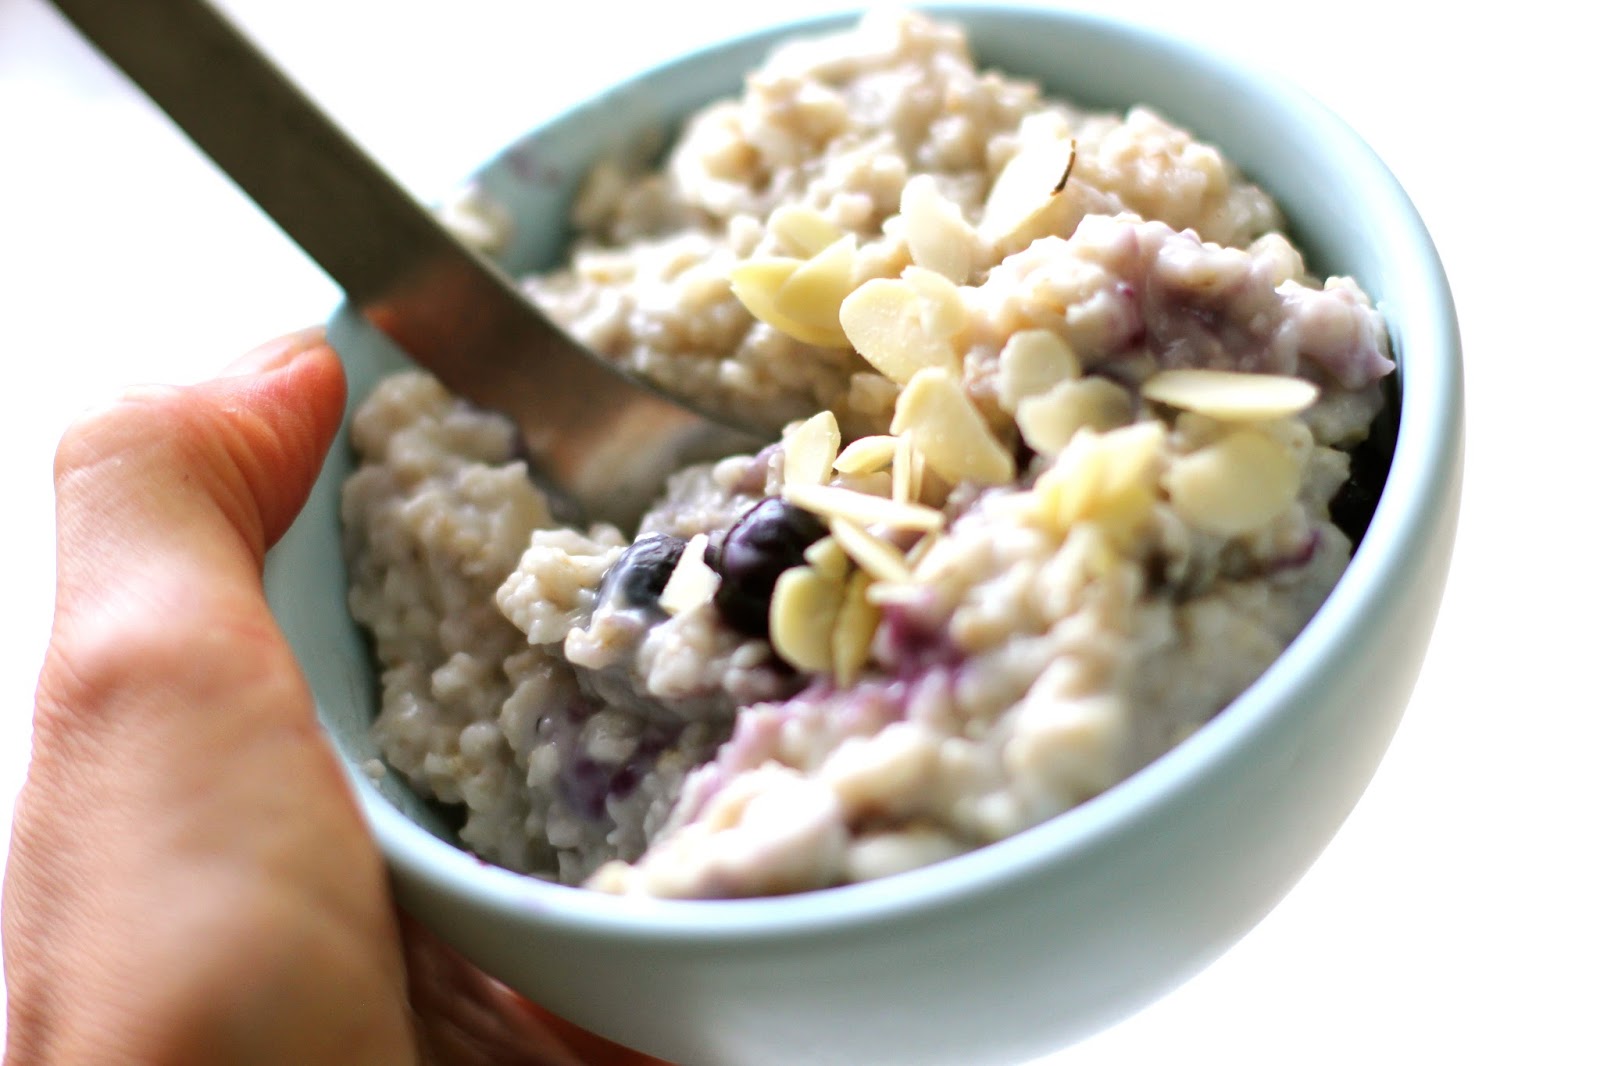
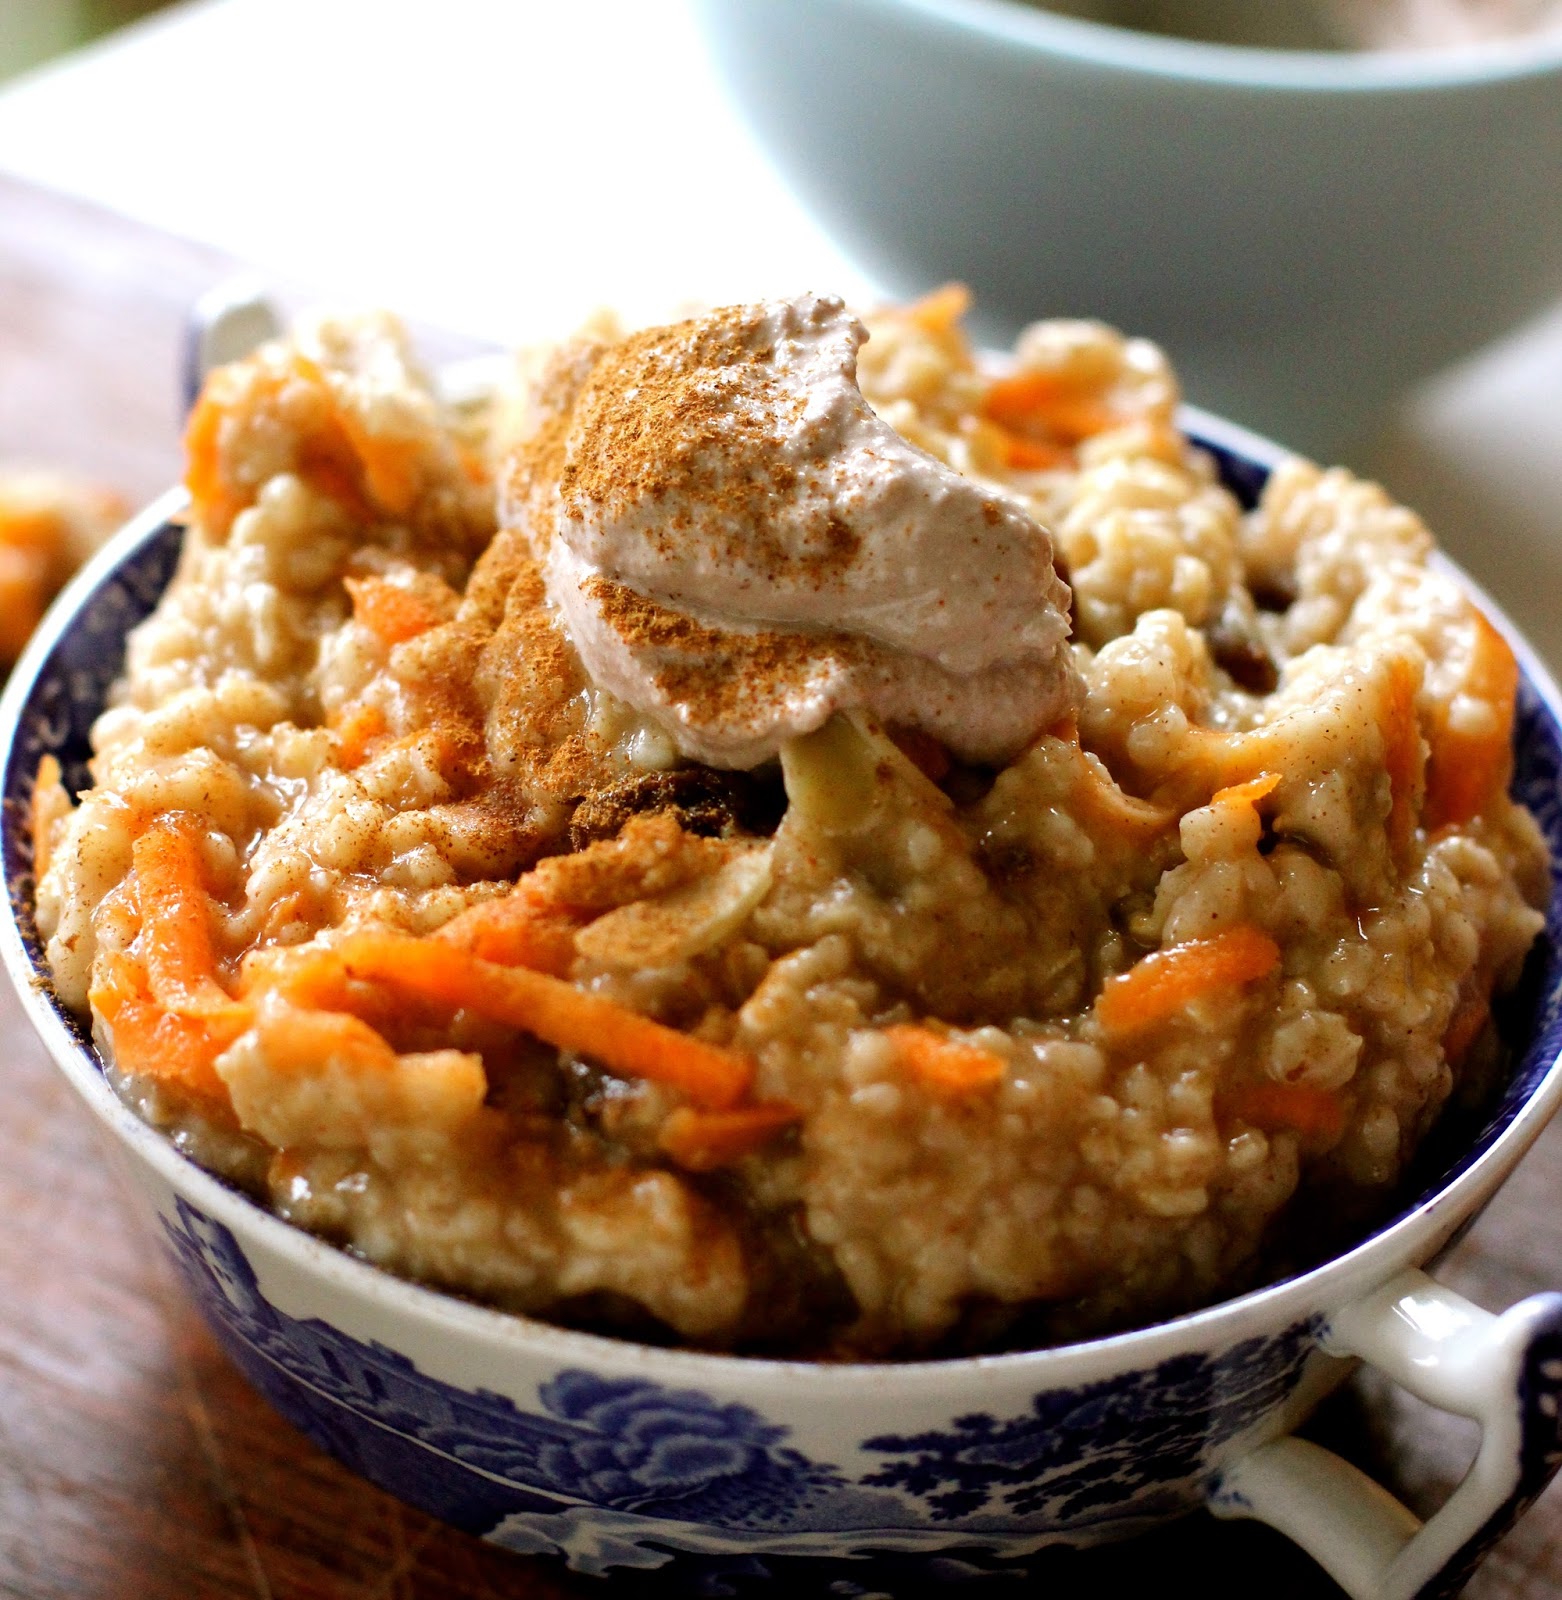
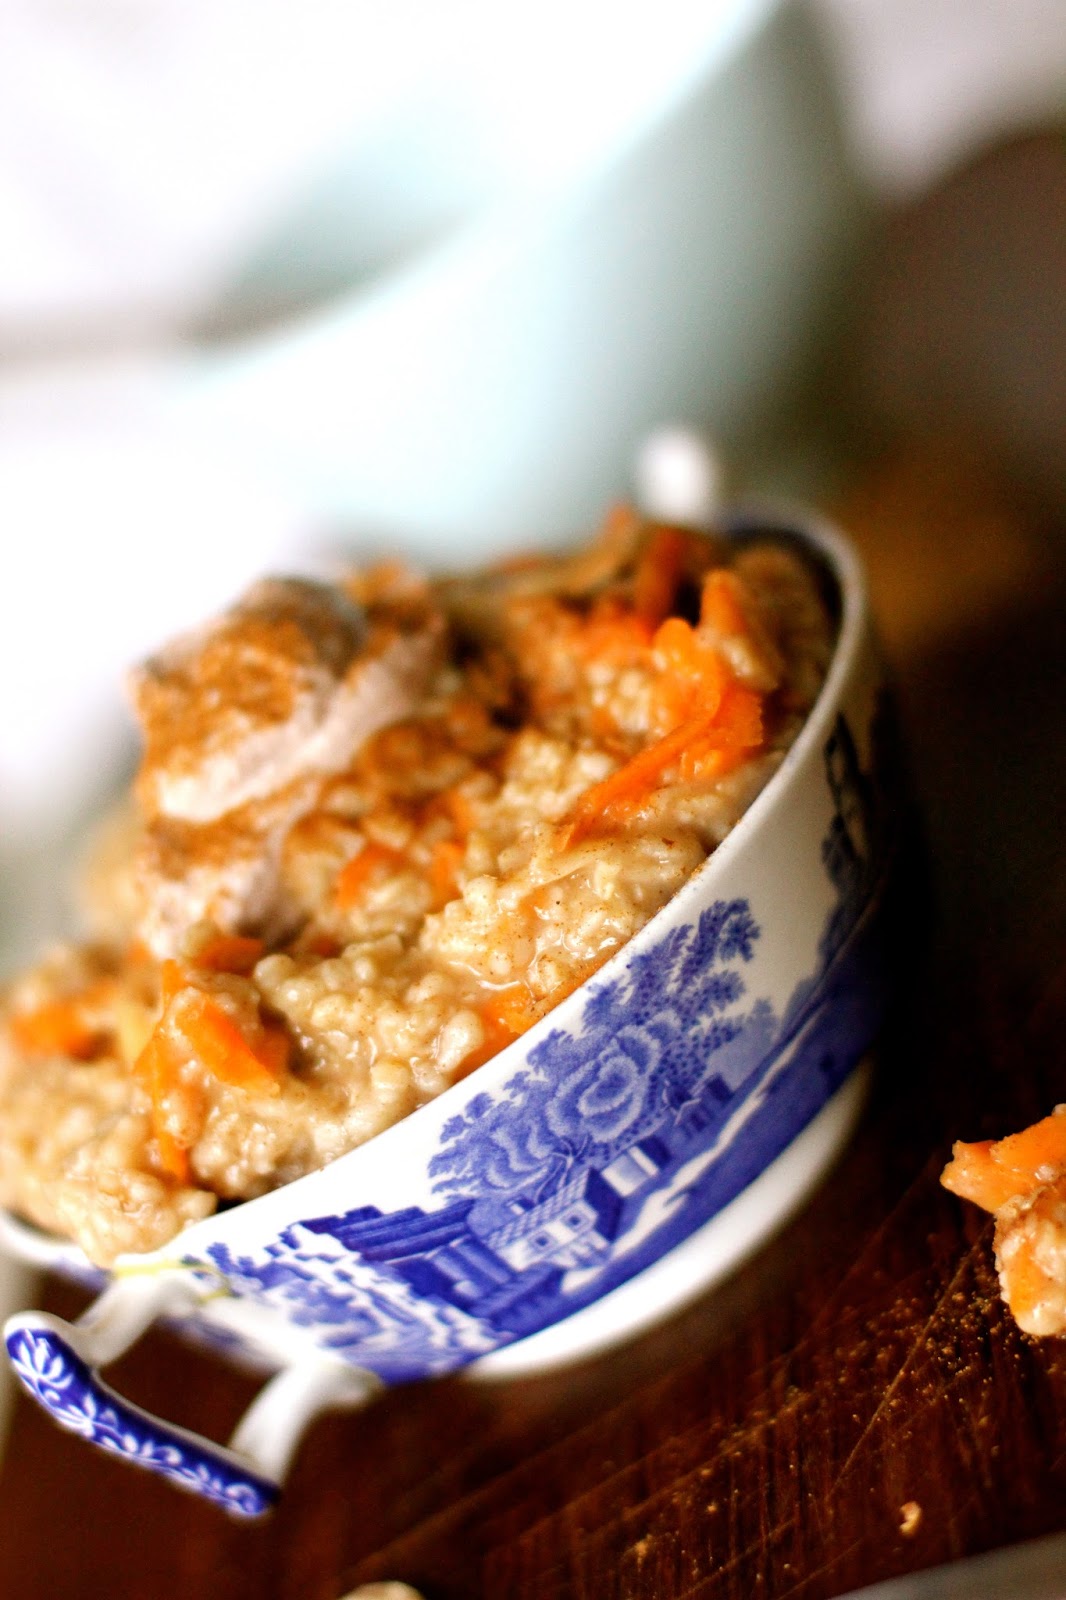
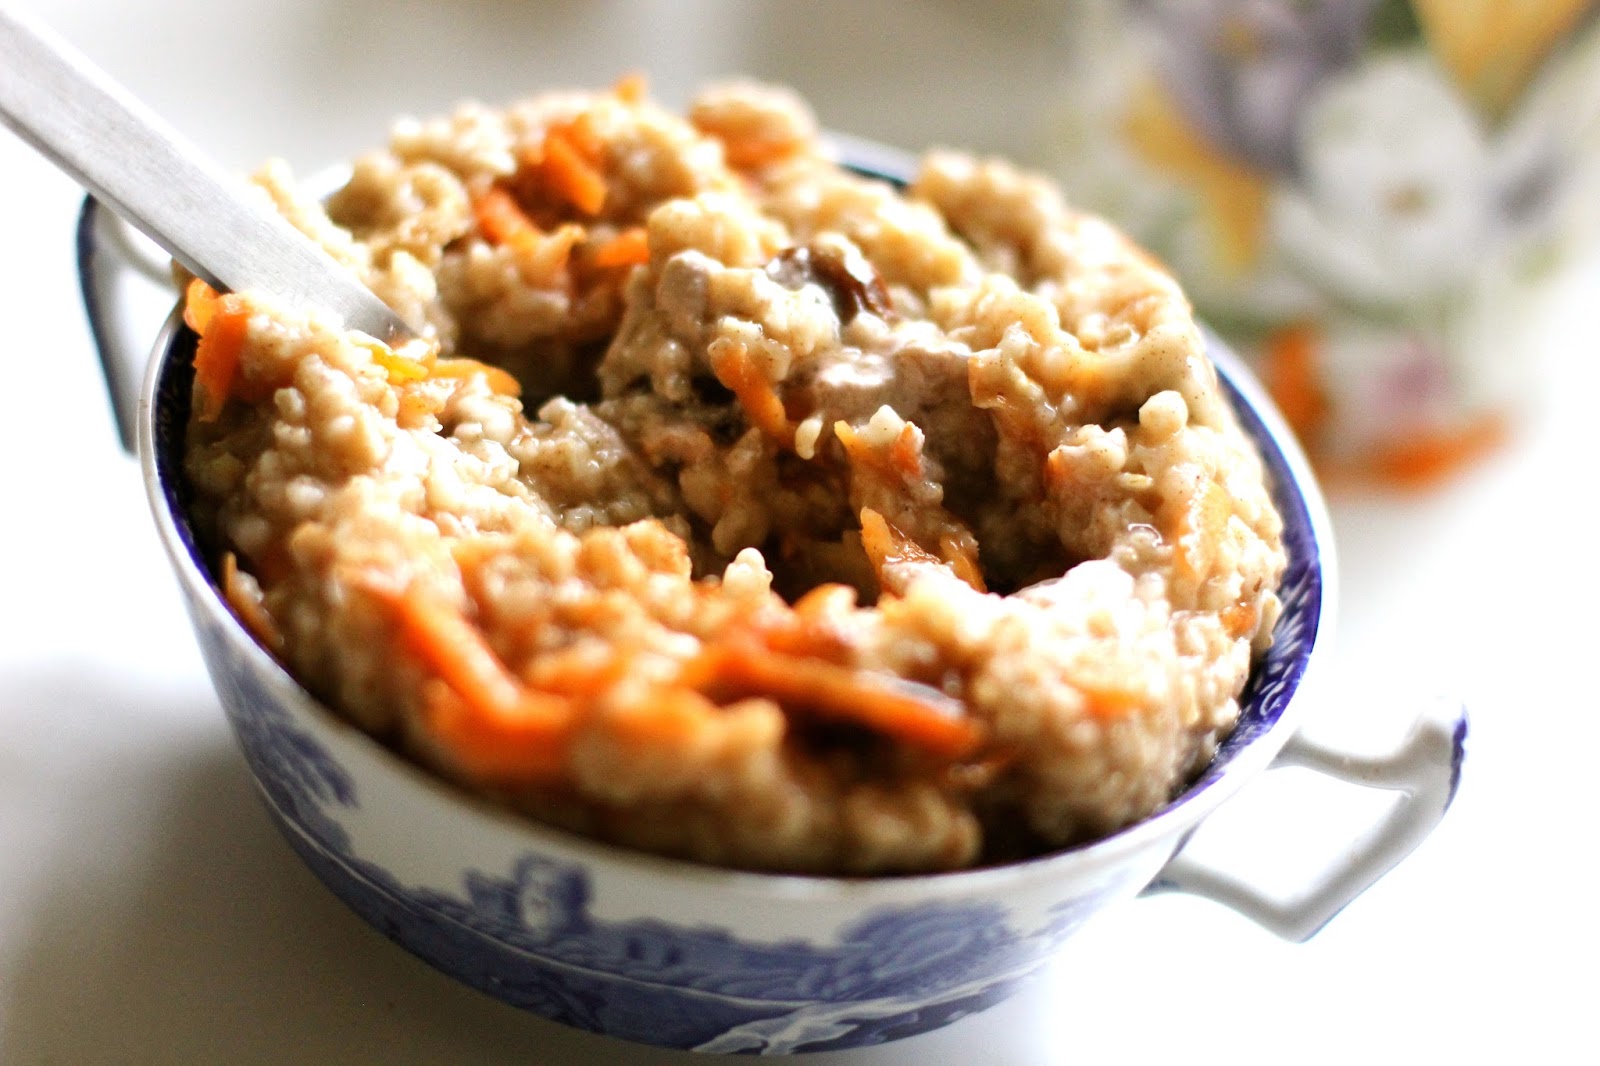
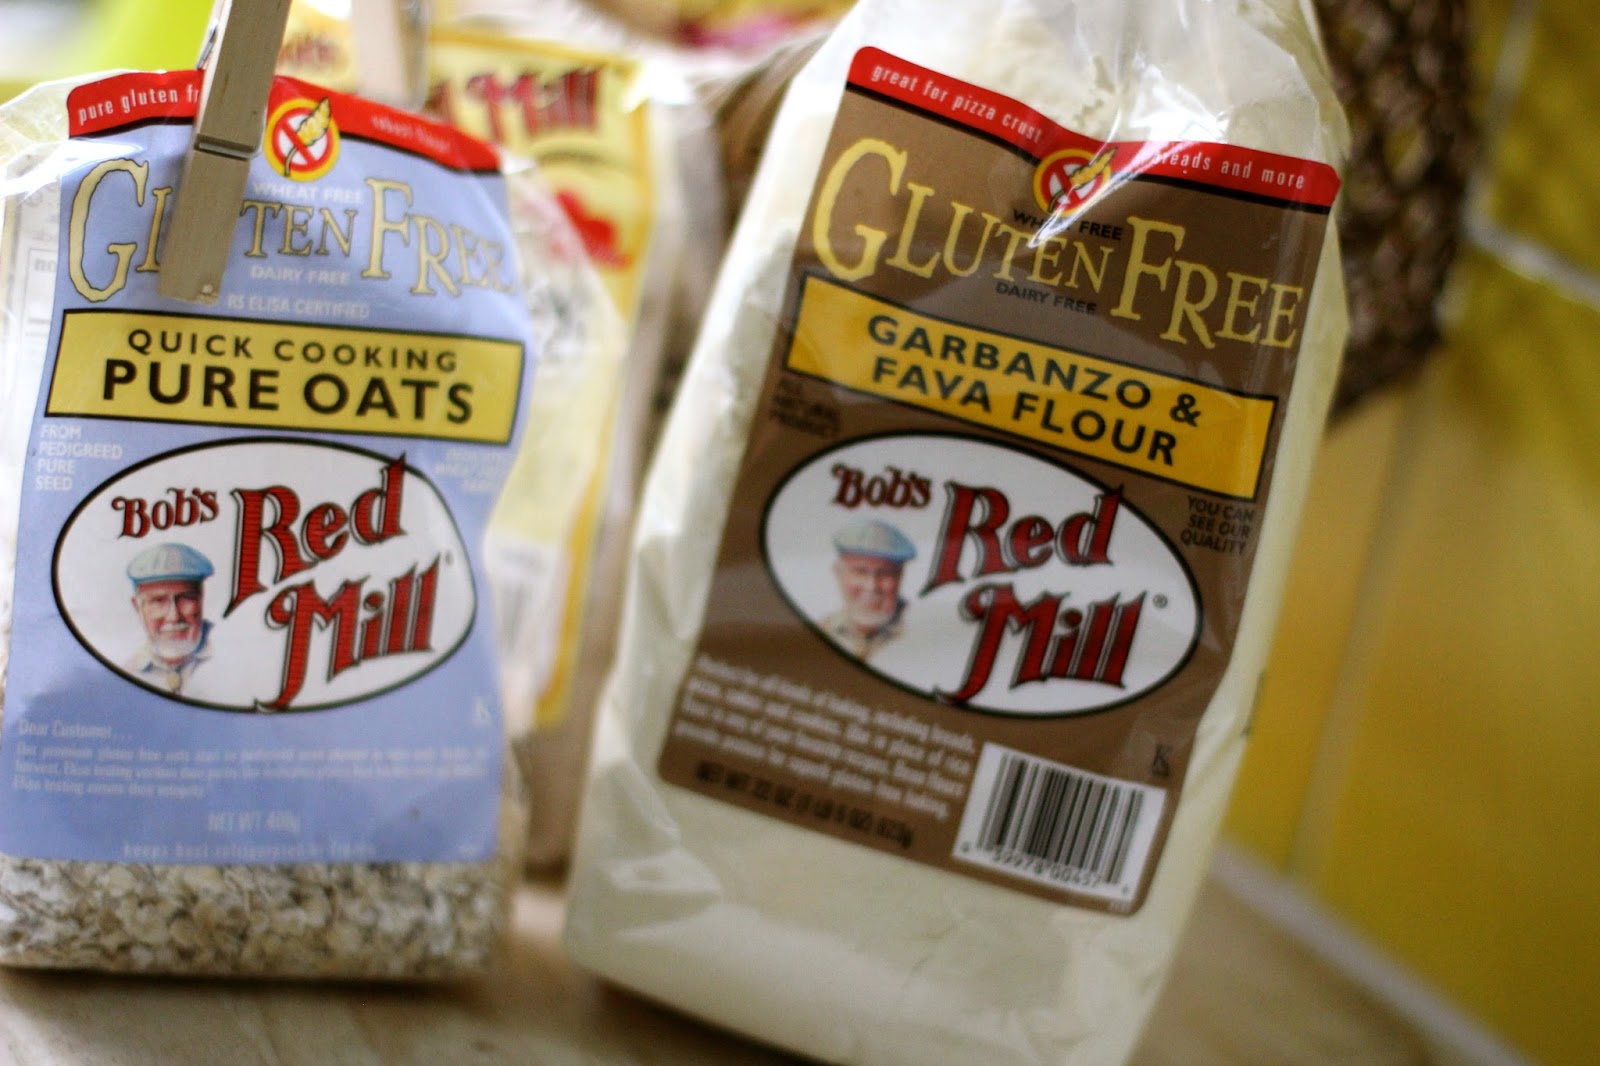
Quinoa Banana Cherry Loaf from a gluten free girl - VGNGF

I loved the look of this pizza and it’s hummus base.  Do you think I can remember for the life of me where I hailed from?!!  


Gobi Aloo Cauliflower & Potato Wrap with Red Lentil Hummus & Onion Pickles


Pumpkin & Leek Pasties from Veg Hot Pot
It wasn’t all about food though.  Many were blogging ‘on the road’ and making me jealous of their travels.  


The Intrepid Vegan Miam - blogging about food on the go!
Some wrote about their every day life, which always is fascinating, even the hum drum (I’m such a voyeur!), and some were totally random and told of their exotic tales on camel back!
Vegan Nom Noms In Dubai

I’ve loved them all!  I hope you enjoyed the snapshot of the fun.  I can’t wait until Vegan MoFo 2014!   If you want to see a list of all the Vegan Mofo bloggers here is the BlogRoll


Filed Under: Uncategorized Tagged With: gluten free, HOME, Recipes, round up, Uncategorized, Vegan, vegan mofo 2013

High Speed Culinary Blender Review

September 28, 2013 by India Leigh


It is no secret that I have been wishing and dreaming for a high speed blender for a long time now.  I was saving up my pennies to buy one, but my addiction for kale chips and almond bread was so great I put my needs for these first. A dehydrator usurped the industrial blender that had previously sat atop my culinary gadget list. So at times, when making nut cheeses and craving raw soups, I have experienced some regret of not purchasing the blender first. It was just such a huge monetary commitment.  This is why I wanted to share with those of you who are holding back, like I was, another option.

Several weeks ago, I was asked to review a blender much lesser known than the oft heralded Vitamix and Blendtec.  I will be honest, because of it’s lower price tag, I didn’t hold out much hope of it taking away my pangs for a Blendtec.  

Over the past several weeks I have been cooking and creating like crazy in kitchen HQ, all in the name of Vegan MoFo 2013.  A both wonderful and loony concept of bloggers posting all things vegan for the whole month of September. I cannot tell you how fun this has been. Well, I can, but not right now. Anyway, all the while I was using the new Omniblend V to enable me to create my daily recipes.

I have been sous chef to a few raw food masterminds, so I know the capabilities of the Vitamix.  The Blendtec and I have met several times at food festivals and events.  I have witnessed the cut of their jib. So I felt I was in the position to make a few comparisons.  I was hot and flushed just imagining getting my hands on a blender with 3 horse power.

With the Omniblend I have pureed and creamed, made sauces, raw soups (the friction of blending warms it through), dreamy ice creams (fast blend time means frozen food stays frozen), ground pin-head oats to flour, and nuts to butter.  I can honestly say I’ve been thrilled, amazed and really happy with the results.  One thing I didn’t try yet was mixing dough, which it apparently it does well.  I will update you when I do.  

For a some blender personal statistics: The Omniblend has a BPA free, 2 litre jug, so any hot items will not leach chemicals from the jug into your food.  It has a wide neck so is easy to scrape the sides, meaning virtually no waste.  It has four upper and two lower blades.  The Vitamix only has 4 in total.  It is super simple to use, with auto timer programmes with 30, 60 or 90 seconds. Pulse button and 3 set speeds; low, medium and high.  At first I was worried that it was manufactured in China but Omniblend have service centres in all the countries that they sell in, and easy to obtain replacements parts, should they ever be needed or fall outside the terms of their warranty.  

7 year motor warranty
1 year jug and blade

At a cost of only £249 compared to £450 - £580 Vitamix.  I think it is a really worthy contender.  Some other reviews of the Vitamix I found online suggest the Vitamix may cut a few seconds of blend time, in comparison to the Omniblend but, with the knowledge I have now, I’d probably not pay out over £200 to save a few seconds of blend time. The only thing I would say is that the tamper stick felt a little cheap.  

This is my unbiased opinion. I’d totally recommend the Omniblend if you are willing to buy for performance and not the long trusted name.  In fact, that is the only reservation I have, that Omniblend is relatively new to the market and so customer service, warranty fulfilment and rugged long life is not so well established and known.  However, seeing as it does have a long warranty I’d say it was worth giving it a shot.

Without it I wouldn’t have been able to create such wonderful recipes for Vegan MoFo, and you.


For the recipes above..

Raw Butternut Squash & Kiwi Soup with Chilli Apple Croutons

Aubergine Walnut Rouleaux With Wild Blackberry Mustard Vinaigrette
Double Layer Orange & Cardamon Cheesecake


Filed Under: Product Reviews Tagged With: blender recipes, high speed blender, HOME, industrial blender, omniblend, product review, Recipes, smoothie makers, Vegan

Double Layer, Orange & Cardamon Cheesecake. No Bake. Gluten Free.

September 23, 2013 by India Leigh

Double Layer, Orange & Cardamon Cheesecake.  No Bake. Gluten Free.


A few days ago a friend was returning from the warm climes of Northern Spain. I’d been looking after her house and rather large cat for a couple of weeks. I planned to have dinner waiting for her when she arrived. In the spirt of ‘do unto others’ I wanted to create a dessert that would melt away any post holiday blues.  As I was placing flavours and textures together in my mind, I knew I wanted a mouth meltingly smooth and creamy cheesecake, with a graceful hint of the exotic. 
This is what I dreamed up. It is elegant, feminine and divine.

Double Layer, Orange & Cardamon Cheesecake.  No Bake. Gluten Free.


Base

1 1/4 cup Bobs Red Mill GF Oat Flour 
1/2 cup almond flour
2 tbs flax meal
2 tbs coconut oil, liquefied
2 tbs maple syrup
1/2 tsp pink salt

bottom layer
3/4 cup tofutti original
1 cup cashews - preferably soaked overnight but minimum 30mins
3/4 tsp vanilla powder
1 1/2 tsp cardomon powder
2 tbs fresh squeezed orange juice
1 tsp orange extract (in an oil base)
1 tsp fresh lemon juice
zest of half and orange
1/4 tsp salt

top layer
1/4 cup tofutti original
1/2 pack firm silken tofu
1 tbs melted coconut oil
juice of 1 large lemon (or use lemon oil if you have some in your kitchen arsenal)
zest of 1 unwaxed organic lemon
2 tbs xylitol powder (grind granules in a coffee grinder)
1/2 tsp pink salt


to prepare the base mix all the ingredients by hand in a bowl or blender using s blade.  It should clump together when pressed between thumb and forefinger.  Press the base mix into a 9′ baking pan that has a removable base. Pop in the freezer to set.

next up, prepare the bottom layer.
put all the ingredients listed above into a high speed blender (crucial for creamy smooth cheesecake) and blend until silky smooth.  Take the baking pan from the freezer and scoop the bottom layer onto the base.  Smooth using a spatula.  Gently tap the pan on the countertop to nudge out any air pockets.  Pop into the freezer whilst whizzing up the top layer.

Top layer
Put all the ingredients, with the exception of the zest, into your blender and blend until perfectly smooth and creamy.  Add the zest and pulse lightly to incorporate, leaving specks of zest remaining.  Grab the baking pan from the freezer and use a spatula to gently scoop and smooth the final layer.  Pop into the fridge for minimum of 30 mins to chill perfectly before serving.  The cheesecake can be frozen if not eating right away.  Just gently remove from the baking pan and place into a suitably sized container.  Leave the cheesecake on the baking base for security.

Serve with slices of fresh orange and smashed pistachios.  

Vegan, gluten free, no bake. 


Let me know if you love it as much as we did!  x

Filed Under: Desserts & Sweets Tagged With: cardamon, cheesecake, easy desserts, gluten free, HOME, orange, quick, Recipes, Vegan, vegan mofo 2013

Give Us This Day. Gluten Free Bread.

September 20, 2013 by India Leigh

Give Us This Day.  Gluten Free Bread.


My obsession knows new bounds.  For the last couple of days I’ve been obsessing about bread making. Gluten free bread making.  The more I read, I think the less I knew! In the end, the only way to see what works was to get in the kitchen, and well, see what works.

So for Vegan MoFo 2013, Day 20.  I’m giving us this day our daily bread. Sans gluten.

Gluten Free Bread


3/4 cup brown rice flour
1/4 cup wholemeal teff flour
1/4 cup sorghum
3/4 cup cassava (tapioca) flour
1 tbs psyllium powder
2 tbs ground chia
1 1/2 cups warm vegan milk
1 tsp apple cider vinegar
1 tsp pink salt
1 tsp white sugar


Bake at 180 degrees for 55 minutes, then five minutes extra with aluminium foil over the top.  I took it out of the oven at 50 mins and tapped the bottom but it did not sound hollow enough so I popped it back in again.   When it is cooked, remove it from the loaf tin.  Leave it to completely cool before slicing.  I had to go for a once around the lake at the end of my street, to cut into it was too great.

I read on one website that it was better to introduce the quick acting yeast to warm liquid before adding to the flour. I have no idea what difference this made but I went along with it.

Use a tsp of olive oil to make smoothing down the top easier and also improve the crust.  If you don’t want to use oil then wet hands will help to smooth.

I let it rise in an lightly oiled mixing bowl for 1.5 hours. The house was warm, this is important.  Yeast is a bit like me, performs better when warm.  The risen dough then sat in the loaf tin for a further ten minutes whilst I waited for the oven to heat up. 

I’ve read so much about gluten free bread in the last three days.  Some recipes have had such a long list of ingredients, all the ones that looked like they were triumphs used a high ratio of starch.  Some said 2:1 ratio of gf flours to starch, others said 60% starch 40% flours. Some said flours with high protein content best, some said rice flour best.  Some used vinegar to create a little chemical friction in the baking, thus resulting in a more tender loaf, others didn’t.  Some used baking soda…some, not.  

Am I happy with my first home baked loaf of bread?  It was denser than I’d hoped for.  I liked the flavour and the crust had a nice chew.  It was lovely toasted.  Overall, my first attempt was more like a German Brot.  Denser than sandwich bread.  The wholemeal teff defined it a brown instead of a white loaf.

I’m making another loaf in the next few days, I will be tweaking the recipe here and there to see what the effect is.


It’s not perfect.  No, let me rephrase that.  It is a perfect, dense and flavoursome, bread.  Perfect and lovely in it’s own way.  What it isn’t, is the hoped for, spongey, chewy crusted, flavoursome copy of the freshly baked sandwich loaf I used to slather with whatever took my fancy, atop an artery clogging layer of butter (pre-vegan days), type bread.  That will come in time.  For now, I’m loving what I have.  It’s kind of exciting.  The idea of a bread making journey, with failures and successes. I will learn as I go, make little adjustments, discover new ideas.  I sometimes can be rather uncomfortable with learning something new.  At times, want to skip to the finish line without all the stuff in the middle.  But, can a craft be truly learned without study and time to proof?

If you have any gluten free bread making tips or stories please do tell.


These sites were some of my inspiration and places of learning.
Gluten Free 4 Goofs
Book Of Yum
Gluten Free Girl


Today is Day 20 of Vegan MoFo.  I missed a day of posting so this is the 19th post.  I’ve a minimum of one more post to go.  It is going to be a good one.

See you tomorrow! x


Filed Under: Breads Tagged With: bread, gluten free bread, gluten free flour, HOME, Recipes, teff, Vegan, vegan mofo 2013

Fancy Porridge For Dessert…Or Dinner. Or Breakfast.

September 19, 2013 by India Leigh


Whilst I have been tinkering with so many recipes for Vegan MoFo lately.  There have been a few times when I just didn’t have time to make dinner (crazy eh!) or could be bothered with even more washing up. My hands are like prunes!  It has been unseasonably cold here the last week or so and I was needing some internal fire in my belly.  What did I crave?  Something fast, something filling. Bring on the porridge.  As it was dinner, I couldn’t just eat warm oats with almond milk.  So I took it up a wee notch and made Porridge Dessert..for dinner.    A post today by a fellow Vegan MoFo’er for peanut butter and jelly porridge, reminded me to share this with you.

One day I made Black Forrest Gateau Porridge.  I warmed almond milk in a pan with a cup of oats, a pinch of salt, 1 tsp vanilla powder as a base. And, so I could eat it without having to wait for it to cool a little, I added a handful of mixed frozen berries and stirred through some carob chips.  A few flaked almonds on top and a swirl of maple syrup.  Happy!


Add caption
The next day, for lunch I ate porridge again.  This time I yearned for warming Carrot Cake Porridge.  I made the base of the porridge in the same way as the day before, but I added 1 tsp of cinnamon and a grating of nutmeg for spice.  I then grated a carrot and lightly toasted some walnuts until they were fragrant and stirred them through. I topped with a walnut cream, I made by whizzing up some coconut yogurt and walnuts with a little spoon of xylitol (healthy sugar alternative), in a blender. Swirl maple syrup in a figure of eight, and a pinch of salt on top and one over my shoulder for luck. Happy!


If you are gluten free, make sure you use gluten free oats.  Oats are not by nature a gluten food but they are usually processed in mills that process wheat.  I stayed away from my beloved porridge for so long as they really affected me, not just in my stomach but also making me feel a bit weird and fuzzy headed.  I also think sticking to my green smoothies for breakfast, and not eating the oats in the morning helps.  Not sure why.  My favourite are Bob’s Red Mill Gluten Free Oats.  


See you tomorrow!  x

Filed Under: Breakfast, Desserts & Sweets Tagged With: black forest gateau, carrot cake, gluten free, gluten free oats, HOME, porridge, Recipes, Vegan, vegan mofo 2013

Deep Filled & Rich, Chestnut Mushroom & Ale Pie

September 18, 2013 by India Leigh

day 18 of Vegan MoFo 2013.  It has driven me to drink.  Thirteen years of straight-edge, teetotal.ness down the drain.  Well, not quite. It doesn’t count when it’s cooked in food.  Because I have been a non-drinker for longer than my love affair (yeah, what’s one of those..but that’s a whole other story) with vegan cooking began, I have never had food laced with alcohol.  Until now, this MoFo, for me, has been about breaking down some barriers and trying the new, or experimenting with recipes I’d been putting off because they seemed complicated and thus doomed to failure.  Failure has become the new success. Really, there is no way to bypass it when skiing along a learning curve.

I wanted to make food with beer.  I’d make food with lashings of cider and wine in my pre-vegan days, but never beer.  What better way to begin than with a classic, good old fashioned pie!  Rich and earthy. The perfect transition to Autumn eating.


There a few steps involved in this recipe, but worry-ye-not, I’ll walk you though it best I can.

Deep Filled & Rich, Chestnut Mushroom & Ale Pie

Filling
1 bottle 330ml Greens Beer - vegan & gluten free
1 block tempeh & a little gf flour for dusting
350 g organic chestnut mushrooms
1 large organic carrot chopped in rounds
1 medium onion diced
3 cloves garlic minced
1 stick of celery chopped
1/2 cup gluten free flour (I used Bobs Red Mill GF garbanzo & Fava mix, but sorghum would be perfect too)
1 tsp balsamic vinegar
1 tbs whole grain mustard
2 cloves garlic
2 tbs tomato paste
1 tsp vanilla extract
1 tsp dried or fresh thyme
pastry
3/4 whole grain teff
1/4 cup almond flour
1/2 cup garbanzo & fava flour
1 tsp salt
2 tbs arrowroot flour
3/4 tsp xantham gum
2 tbs solidified coconut oil (the flavourless one is best for this recipe…or use vegan shortening)
vegan milk. enough to form a dough.

Method
Fry the onion & celery on a low heat for about 10 mins, until caramelised. If you sprinkle a little salt over the onions whilst cooking it helps them to release their water and encourages caramelisation. Add garlic & thyme. Cook on a low heat for a further 1-2 mins.  Careful not to burn.  Set aside.

Clean any soil off the mushrooms with a dampened piece of kitchen towel(don’t wash), slice (leaving a few cut into halves) and then fry (in quite a large pan..I will explain why further down) in a little oil until soft. Sprinkle over 1/2 cup gf flour and mix with a spoon. Set aside.

Make the pastry
sift the flours, salt and gum into a food processor or a bowl and cut in the coconut fat or shortening. Rub lightly with your fingertips (or slowly pulse in the dough mixer) until the mixture is crumbly. The tiny bits of solid/cold fat are what makes the pastry ‘short’. Slowly add the cold water to form a ball of dough.  The amount needed will depend on the humidity, and the flours that you use.  I used about 7 tbs in the end. 

Chill the pastry for 15 mins.  Heat your oven to 180 degrees, whilst the pastry is chilling.


On a sheet of parchment paper, roll out your pastry to fit your pie tin. Body & lid.  Line your tin with the pastry (keep the lid aside).  Pop into the oven to blind bake.  About 5-8 mins depending on your oven. We do this as the filling is already cooked and so a short overall cooking time may not properly cook the pastry.

While the pastry is blind baking…

Cube the tempeh and dust in a little gf flour.  Oil and heat a pan and fry the tempeh until golden.  Remove the tempeh and set aside.  Add the carrots and fry for a couple of minutes. Next, deglaze the pan by slowly pouring the bottle of Greens Discovery into the pan.  With a wooden spoon dislodge any remaining crispy bits from the tempeh.  Cook on a low heat for 2 mins.
Now to bring it all together. Add the onion mix, & beer carrot mix to the mushrooms and stir on a low heat until it thickens.

Remove the pie tin from the oven.  Spoon the mix into the pie tin.  Gently pop on it’s pastry lid and with wet fingers, crimp the sides to seal.

Cook in the oven for 25-30 mins.  The top will take on a lovely colour.  Careful not to let it burn.

At this point I made a quick garlicky spinach and pea mash.  No potatoes just the veggies quick fried with a bit of veggie stock and lots of cracked black pepper.   

I have never eaten anything cooked with beer.  I was surprised, it tasted so good.  My (dyed-in-the-wool) carnivorous dining companion said he’d choose my pie over any meat and ale pie he’d eaten before.  After years of forcing encouraging him to favour honesty over being nice (with me anyway), I take this as gospel.

I will be making this again very soon.

Special thanks goes to Green’s Original Gluten Free Beer available in Europe and a few countries outside. Approved by the Coeliac UK and The Vegetarian Society UK for making my alcohol infused foray into food possible.  Have you heard of Barnivore too? They have an online vegan, beer, wine and liquor guide.

Just a few more days and Vegan MoFo 2013 will be in the bag! 

See you tomorrow! xx


Filed Under: Entree/Mains Tagged With: Allergy Friendly, beer, british classic, cooking with ale, gluten free, gluten free flour, gluten free pastry, HOME, mushrooms, pie, Recipes, tempeh, Vegan, vegan mofo 2013, vegetarian

Vanilla Sugar Dusted, Gluten Free Yeasted Donut Recipe

September 17, 2013 by India Leigh

Vanilla Sugar Dusted, Gluten Free Yeasted Donut Recipe


A first for me. The homemade gluten free donut. I needed guidance.  It wasn’t that easy to find a definitive, simple enough gluten free yeasted, fried donut recipe on the Interweb.  Most of them were baked. Normally, this would be my plan, healthier the better. But, I’ve not eaten a donut for so many years so if I was going to have one I wanted it to be full fat and tasting like I remember a donut tasted.  Phase Two will be trying the baked versions and seeing how they compare.  Meanwhile, I figured I’m probably only ever going to eat my homemade donuts, and I’ll make it a once a year occurrence.  


Vanilla Sugar Dusted, Gluten Free Yeasted Donut Recipe


The ingredients
1 1/2 cup warm unsweetened almond milk
1 1/4 cup garbanzo & fava flour
1/2 cup oat flour
1/2 cup sorghum flour
1/4 cup almond flour
1/2 cup potato starch
1 tbs tapioca flour (meant to add ‘chew’ to gluten free flours’)
2 tbs dry quick acting yeast
1/4 cup xylitol
1 tsp white sugar (I used the ‘demon’ white and not all xylitol as I read somewhere that yeast needs processed white sugar)
2 tbs flax meal
1/2 tsp salt ( I used less salt than Gluten Free Girl used as I think using mainly garbanzo and lava flour lessens the need)

white processed sugar for dusting

Method
Sift the flours and add the wet ingredients to the dry. Mix the dough/batter until well incorporated.  I did this by hand, you may get an even better result from an electric mixer. The mixture is going to be wet.  You’ll probably think you’ve got it wrong.  I did too, but several assurances in my internet research said the dough would be more like a thick batter.  My research took me all over, and conflicting ideas caused much a little confusion, but basically, I used Gluten Free Girls tips for guidance.
Now to form the donuts.  I didn’t have a donut cutter so I made mine with my hands. It is absolutely crucial you flour your hands really well from the start.  I didn’t and it got messy. Place onto a sheet of baking parchment onto of a baking sheet tray.  Form balls and place (with room for expansion) onto the sheet.  Leave to rise for 45 mins. Mine spread more than towered in height.  

Cooking
Make sure your pan is completey dry before adding in the oil.  Any water residue will make the hot oil spit like an angry camel. When the oil reaches 375F (I didn’t have a candy thermometer so I did the throw in a small piece of dough or bread trick and it sizzled nicely so I knew it was hot enough) place the dough carefully into the fryer.  After the first two, the donuts only took about 30-40 seconds to fry each side, if that.  I fried one at a time.  I was so scared of the oil!  I could only handle the stress of mono baking.  Use two slotted spoons or forks to flip the donut.  When cooked both sides put onto kitchen towel to let the excess oil drain for a few moments. Then transfer to your dish of sugar and coat.  It will stick better when the donuts are still fairly hot.

I got tips mainly from  Gluten Free Girl and some from  Gluten Free On A Shoestring &
Gluten Free Baking

I couldn’t find the large quantities of starch flours in my local supermarkets, I was amazed, these are not small shops.  Potato starch and tapioca were nowhere to be found and the arrow root came in silly little 5g bags.  To make this recipe 60% starch (40% grain) it would have cost me a Kings ransom.  I am going to go on a hunt of the Asian stores the other side of town to see if they have them as Indian cooking uses a lot of gluten free starchy flours for when I embark on my gluten free bread experiments.  I will let you know.


Their taste far exceeded hoped for visual appeal. I had wanted to fill them but the had not risen sufficiently.  So, I quickly whipped up some cashew, banana, vanilla soft serve in the blender to scoop on top. They were a hit.  Not only with me.  They had to stand up to my donut queen, gluten loving Mother.  Verdict?  You’d never know they were gluten free!  ‘They’re good’, she declared.  Any therapist would say I should be way past the stage of seeking parental approval, but I guess I’m still not quite there yet!!   Hey, I’m blogging everyday, and seeking approval of complete strangers who I probably will never even come into contact with, so I think I’d potentially make some therapist quite rich!  Hey ho.

Enjoy the donuts or doughnuts…spell them how you will.  x

Day 17 - Vegan MoFo 2013  

Filed Under: Desserts & Sweets Tagged With: donuts, doughnuts, gluten free recipes, HOME, Recipes, Vegan, veganmofo, yeasted donuts

Injera Wraps Stuffed with Citrusy Split Peas (Kik Alicha)

September 16, 2013 by India Leigh

Injera Wraps Stuffed with Citrusy Split Peas (Kik Alicha)


I first tried Ethiopian food when I was in LA.  A great little health food store in Los Feliz neighbourhood, up by the Hollywood Hills, kept them in the chiller to-go. The curious grey/brown spongy wrap and sunlight yellow peas looked so appetising.  I was setting off on a ‘road trip within a road trip’ down to Joshua Tree to be alone in the desert and stare at millions of glistening stars.  I grabbed them and a bottle of kombucha and headed out.  I devoured them whilst driving in LA traffic (not a good idea folks, don’t do this at home…well at home yes, but not in your car).  The flavours and textures were an instant hit.  Every road trip I took, beginning at this point, then always began with a mighty roll of tangy injera bread and lemony legumes.  When I’ve eaten them in other places since, they always transport me back to sunny California and dusty deserts.

Even though I’ve been hooked on Ethiopian cuisine ever since, it has taken me years to get around to making injera bread.  I was a bit scared of it.  Silly really, fermentation is not really something to be feared, like say rip tides or leg waxing.  I guess it’s all timing.  I decided Vegan MoFo 2013 was a wonderful excuse to have a go.  


Injera is teff flour mixed with water and left to ferment for 2-3 days (mine took 3 days..it will depend on the warmth of your house).  It has a mildly sour taste.  Teff belongs to the genus of ‘love grass’. Reported to be rich in iron and complex carbs ( thought to regulate blood sugar),  high in calcium, gluten free and, well, someone once told me all those Gold medal winning Ethiopian runners eat plenty of it, so it must be good. 


Injera Wraps Stuffed with Citrusy Split Peas (Kik Alicha)

3 cups wholegrain teff
4-5 cups water (I found a recipe that says use non-chlorinated water for the fermentation, which makes sense as the yeasts don’t like chlorine..I’d try spring water next time)
oil for the fry pan/skillet
Pink salt to taste.  I used about 1 tsp.

Mix the teff flour and water (NOT the salt)into a bowl, cover and leave in a warmish spot undisturbed for 2-3 days.  See the picture below for how it should look.  I kept looking at it all the time, like you would watching soil for seed to sprout. I was so excited when it started to look cracked and then bubbles appeared on the surface.  I admit to talking to it then, and encouraging it a little (I never professed to be sane!.)  When it is fermented, mix in the salt. You may need to add more water, I did.  Look for the consistency of a moderately runny batter.


Pour the batter like you would a crepe in a heated, oiled pan (there is a special electric pan or clay plate, to make injera but I only had a non-stick frypan..beggars can’t be choosers when housesitting!)  The tell-tale craters appear pretty quickly.  Once the edges are turning whitish then pop on a suitable sized lid for a minute or so, the steaming process finishes off the cooking.  Pop onto a plate and then cook the remainder.  Pile them on top of each other, using parchment paper to separate.  I was a virgin injera maker.  My results were a bit hit and miss and reminsecnet of the goldilocks story.  The first was way too thick, the second too thin and, yep you know the rest.  I only ended up making four.  If I’d have used the correct amount for each one I’d have probably doubled this.  The pan I was using was huge too.  Practice makes perfect.  I’ll update you when I make them again.  I’d say I came 90% of the way of recreating my road trip injera.  I’d say that was not a bad result.  They’ve probably made 1000’s of them.  
Kik Alicha


1 cup dried yellow split peas. soaked over night.  3 cups of water to cook. 1 1/2 tsp pink or sea salt.  Cook until soft but not completely mushy. It is good to have a bit of texture.  35-40mins.  Cook then set aside.  If they are too wet the strain off some of the water.  See the photo below for how they should look.

5 medium cloves garlic minced
1/4 onion grated (the original recipe didn’t use onion but I used it as a buffer for the garlic so it didn’t burn)
1 1/2 inch fresh ginger minced (use my method of mincing in a garlic press..discovered this for myself last week)
1 tsp turmeric
Put all the ingredients into an oiled pan.  Quick fry for 2 mins.  Stir constantly.

Pop the garlic, ginger paste into the beans and stir.  Now squeeze over the juice of 1-2 lemons, depending on size and juiciness.  The acidity of the lemons make the flavour of the beans zing.

Cover the surface of the bread with a layer of the kik alicha (the name of the puree/stew) and then roll.  Perform this for all.

I made a red split pea wat to go with it. Super easy, spiced with exotic berber spices.  I ate this hot, but served the injera wraps chilled, as this is how they were when I first encountered them.

Lovely.  I will never fear the injera again!


See you tomorrow! x

Filed Under: Entree/Mains, Lunch Tagged With: Ethiopian, gluten free recipes, HOME, injera bread, Kik Alicha, Recipes, Vegan, vegan mofo 2013, Vegan Month Of Food

Raw Butternut Squash And Kiwi Soup With Chilli Apple Croutons

September 14, 2013 by India Leigh

Raw Butternut Squash And Kiwi Soup With Chilli Apple Croutons

I have been wanting to make this soup for a while.  I love butternut squash.  Really love it.  I love the way it is just about the most patient vegetable there is.  It sits, looking pert and lovely upon my shelf until I decide to use it.  It doesn’t sag or deflate in despondency.  Sometimes weeks can go by and it stays as fresh as a daisy.   As September brings that sweet smell of falling leaves and shorter evenings I am far too inclined to cook everything,  it’s all about the comfort and the salads and raw foods come second best.  I try to do my utmost to stop this.  My body craves nutrients, not lost in the steam of long cooked stews.  I’ve wanted to make raw butternut squash soup forEVER but I didn’t have a kickass blender that could whizz it up to a sweet thick cream. Well, now I have one (I’ll tell you about that another time).  

It’s Vegan MoFo Day 14 (my life already!). I’m plunging on.  Most other bloggers take a break at the weekends but I’m travelling again soon and am not sure I’ll get chance to post.

This recipe was the very first thing I made with my new kitchen gadget.

Raw Butternut Squash And Kiwi Soup With Chilli Apple Croutons

1 medium butternut squash
1/2 organic kiwi (leave the skin on..this is good if it is organic
1/4 red onion
1/4 inch piece of fresh ginger
1/2 hot(ish) red chilli pepper, seeds removed
1 clove garlic
1/2 tsp salt
1/2 tsp of cracked black pepper

apple croutons
dice 1/2 a dessert apple really small, keep the skin on
dust with salt, cracked black pepper, hot chilli powder (or chipotle powder if you have it).


Use a vegetable peeler to peel the squash.  Chop into chunks and remove the seeds (you can dust these with seasoning and roast for  a healthy snack).  
Use a garlic press to mince the ginger (I know, isn’t this a great tip..I was busy the other day and a lightbulb moment struck and I popped it in and hopped up and down at my discovery. So much easier than grating!) mince it straight into your blender. Throw all the other ingredients in along with it and blend on high speed for about 2 minutes.  In this time, the centrifugal force of the blender will transform into a warm silky soup.

Serve into bowls, placing the chilli, apple croutons in the centre. Shake over a few chilli flakes too.


The kiwi just gives it a slight edge to cut through the sweet squash.  It is also a great boost of vitamin C.  With the colder weather it is a good idea to up your intake.  Stay healthy.

I don’t know, sometimes I just feel so smug that I wised up to vegan food so long ago.  To coin a phrase, ‘it’s the nuts’!

x

Filed Under: Soups Tagged With: dairy free, gluten free foods, healthy recipes, HOME, low carb, low fat, raw food, Recipes, SOUP. snacks, Vegan, Vegan Month Of Food, veganmofo, vegetarian

Aubergine Walnut Rouleaux with Wild Blackberry, Mustard Vinaigrette

September 13, 2013 by India Leigh


I’m going to rave about this recipe! If you make it, you will too.  Promise.

It is so, so good.  Have you ever danced around the kitchen with a dish you’ve just made?  No, me neither.

It is now marching on to Day 13 of Vegan MoFo 2013 (it’s a Friday too..eek! but lets forget crazy superstitious nonsense).   I wish I’d participated in Vegan MoFo before.  I love it.  Not just making the food, but the event creates such a lovely community.  It is great to visit some of other blogs everyday and see what they are up to. I am amazed at some of the dishes they are creating.  

Today’s dish was inspired by my travels in Berlin, and a friend, who turned up in a rain shower, on my doorstep, with his wet and panting Border Collie, to present me with a big bowl of freshly picked, glossy black berries. He is one of those friends that seems to have a canny knack of knowing just what I need before I do, and makes sure I get it. So grateful.


Aubergine Walnut Rouleaux (Rolls) with Wild Blackberry, Mustard Vinaigrette
makes  about 10-12 rolls


1 large aubergine (eggplant)

Wild Blackberry, Mustard Vinaigrette
1 cup fresh blackberry juice
1 tbs balsamic vinegar
1 tbs agave syrup
2 tbs rapeseed oil or extra virgin olive oil
1 tsp gluten free wholegrain mustard
Himalayan (or sea) salt & cracked black pepper to taste

wash and blend the blackberries, strain. pour juice into a jar.
add all the remaining ingredients. mix.

Creamy walnut filling
1 cup of walnuts soaked over night (makes them far easier to digest)
1/2 block (175g) firm silken tofu (if you don’t eat soy then you can probably sub with plain, unsweetened almond yogurt that has been left to drain on some muslin)
1 tsp ground coriander 
1 garlic clove
salt & cracked black pepper to taste

pop all the ingredients  into a blender and blend until smooth.

slice the aubergine 1/2 cm thick.  Rub over with a little salt.  They soak up so much oil so I poured a little oil on a board, mixed with some water and then take the slices and brush both sides on the board.  drop a tbs of oil into a pan and then use some kitchen towel to help coat the pan.  THEN heat (not before, you’ll burn your fingers) the pan and place the slices and fry until golden brown.

When the slices have cooled enough for you to hold them, take a spoon of the filling and roll up the aubergine. Repeat for all of your slices.  On your serving dish, spoon over a line of the vinaigrette and gently place the rouleaux onto it.

chilli flakes & paprika for dusting

Serve with fresh organic green beans.  Quick blanched in a little boiling water. About 3 mins.  Rinse in cold water to halt the cooking process and retain colour.


See you tomorrow! x

Filed Under: Entree/Mains Tagged With: AUBERGINE, blackberries, gluten free recipes, HOME, mustard vinaigrette, Recipes, starters, vegan mofo 2013, Vegan Month Of Food

  • « Previous Page
  • 1
  • 2
  • 3
  • 4
  • …
  • 13
  • Next Page »

About Me

Hi, my name is India. Welcome to A Vegan Obsession. This site is for you to enjoy the delicious discoveries of a gluten free, vegan traveller and cook. Read More…

  • Email
  • Facebook
  • Google+
  • Pinterest
  • Twitter

Search

Subscribe

Buy The Cooking App

V Is For Vegetable

Popular Posts

Vegan Cookbook Review and Giveaway
Lemon, cardamon cookies encrusted with dark chocolate and pistachio crumbs.
[Friday GIVEAWAY for Dog Lovers] Healthy Chew Bones For Your Darling Dog
Artisan Raw Chocolate Giveaway from Fine & Raw
A WEEK OF GIVEAWAYS!!  UK National Vegetarian Week.  Today A HUGE Box Of Hand Cooked Crisps from Ten Acre

Health

Crispy Kale & Pine Nut Pizza – Cauliflower Crust.

Crispy Kale & Pine Nut Pizza - Cauliflower Crust.

Healthy Vegan Santa Cruz

Healthy Vegan Santa Cruz

New Grains Gluten Free Vegan Bread – Review & Giveaway

New Grains Gluten Free Vegan Bread - Review & Giveaway

Healthy Vegan Fast Food In San Francisco

Healthy Vegan Fast Food In San Francisco

Connect

Discoveries of a gluten free, sugar free, vegan foodie. Read More…

Vegan Cookbook Review and Giveaway
Lemon, cardamon cookies encrusted with dark chocolate and pistachio crumbs.
[Friday GIVEAWAY for Dog Lovers] Healthy Chew Bones For Your Darling Dog
Artisan Raw Chocolate Giveaway from Fine & Raw
A WEEK OF GIVEAWAYS!!  UK National Vegetarian Week.  Today A HUGE Box Of Hand Cooked Crisps from Ten Acre
Baked Zucchini Fries with lemon aioli – Gluten free, low fat and crispilicious

Copyright © 2019 · Foodie Theme by Shay Bocks · Built on the Genesis Framework · Powered by WordPress