My first taste of Besan Laddu was not in India but, oddly enough, in Berlin, Germany. Traditional laddu is basically a ball shaped confection made from chickpea flour, served at Diwali, the Hindu festival of lights which celebrates the victory of light over darkness. The one I tasted was made by Govindas, a company I always check out when I visit Germany as they have many snacks and treats that I like, and are healthy to boot. The laddu had just a few ingredients and I loved the not too sweet, crumbly nuttiness of their ‘breaking from tradition’ square treats. I made a note to self to try to create my own as soon as I could .
My version differs from many of the recipes online. I opted for healthier method sweetening and of course made it vegan but subbing out the ghee. I also omitted the oft used cardamon powder. Govindas version did not have cardamon in, and I did not fancy it, but I will try it in the next batch along with some toasted coconut. They are easy and fun to make, no baking required and they will fill your home with an irresistible, sweet, caramel like scent.
Make this besan laddu recipe to celebrate Diwali on 23rd October. Or just make them, to eat, to share. Here is my simple 4 ingredient recipe.
Besan laddu
1/2 cup coconut oil melted
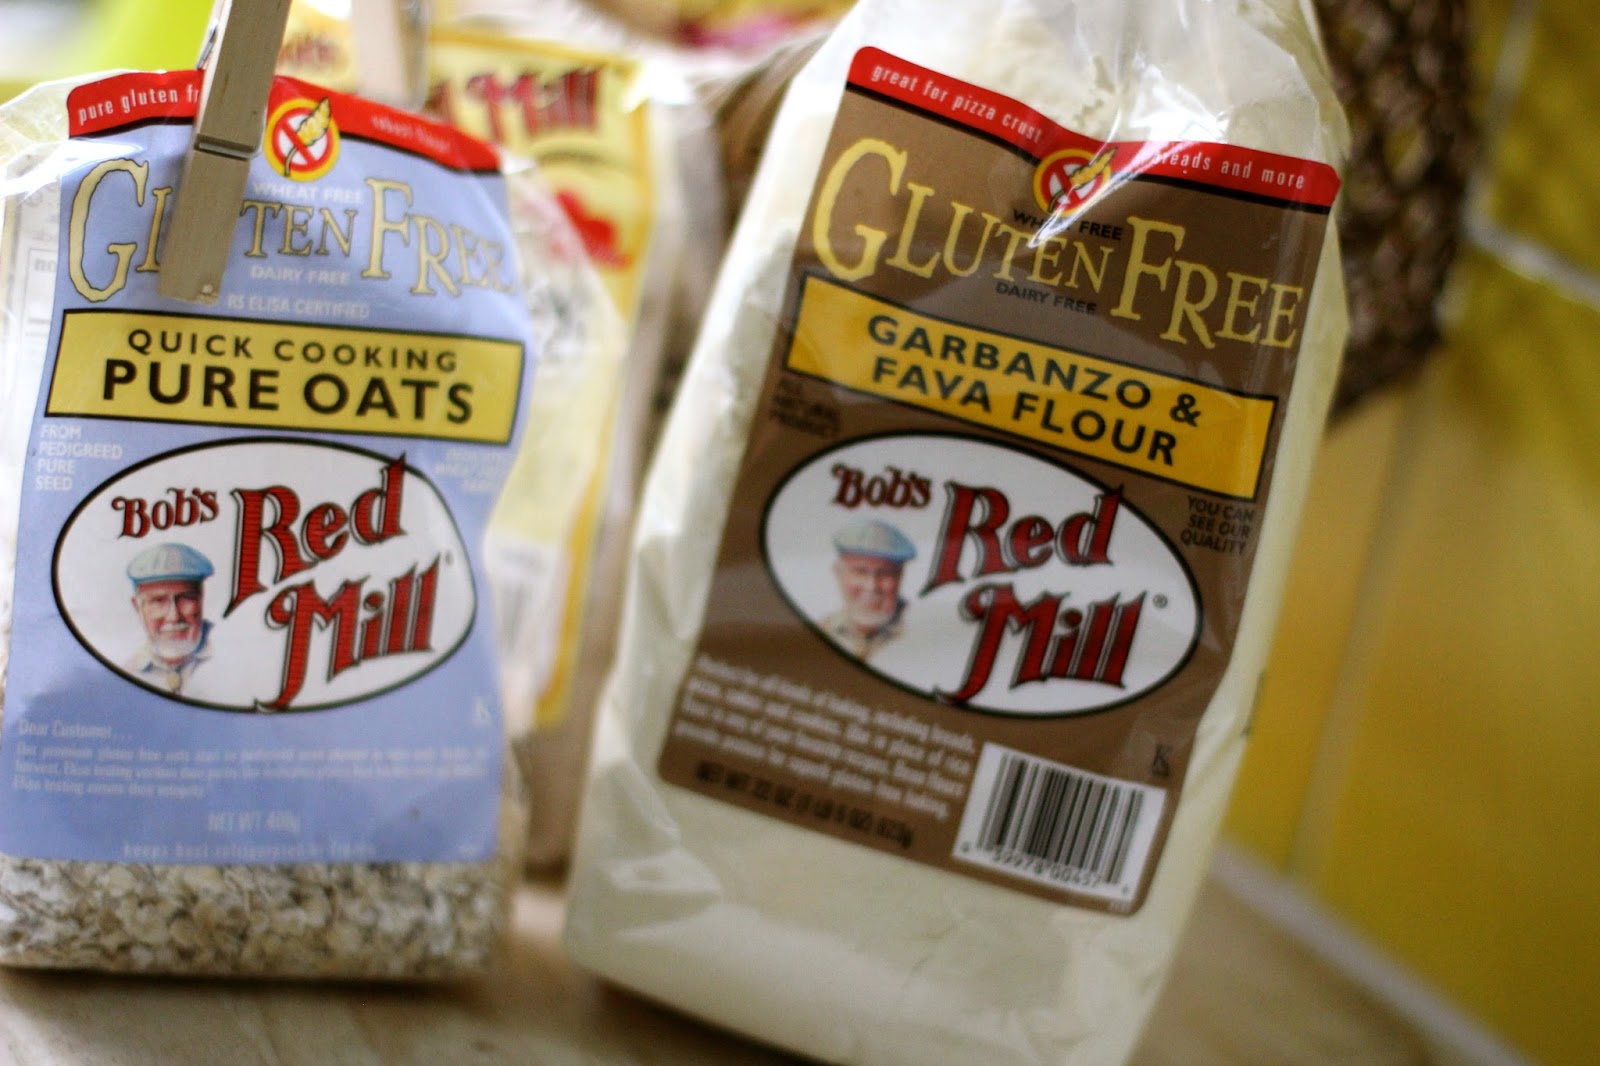
1 3/4 cup chickpea (besan/gram) flour
1/4 tsp pink Himalayan salt
3 tbs Sukrin Icing sugar
3 tbs agave
Method
Gently melt coconut oil in a pan.
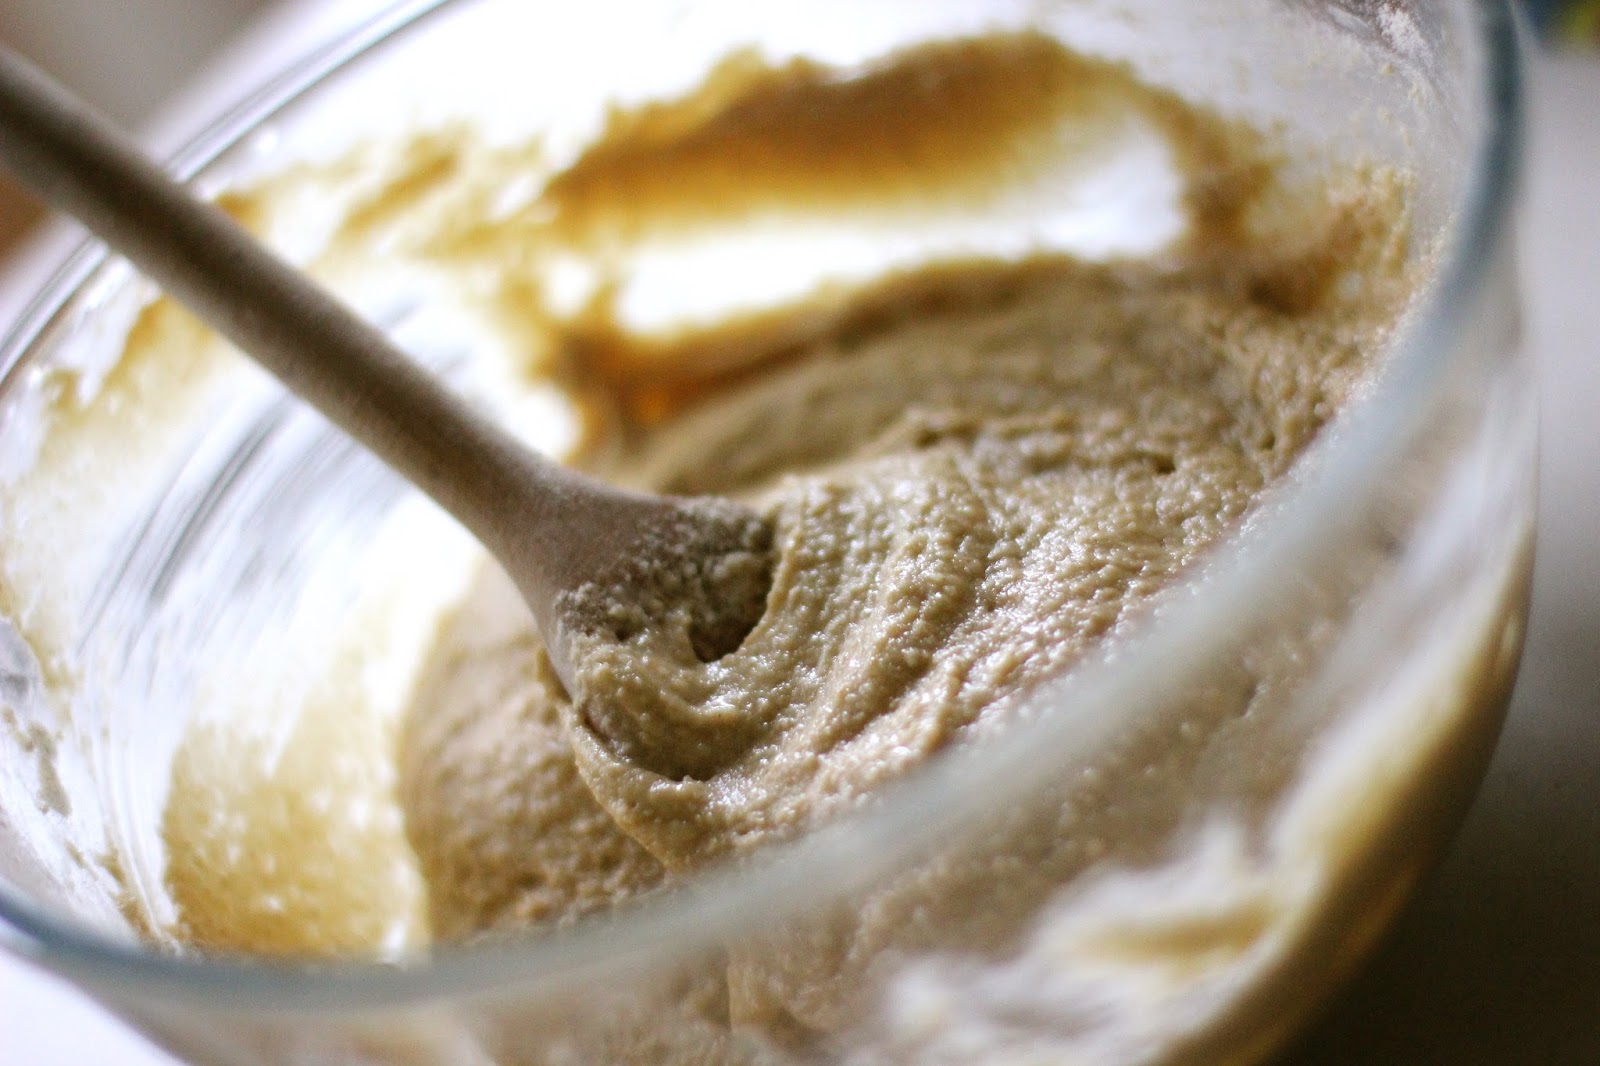
Add the chickpea flour and roast, stirring constantly 15-20 mins until golden.
Add in the sugars and the pink salt and stir in well.
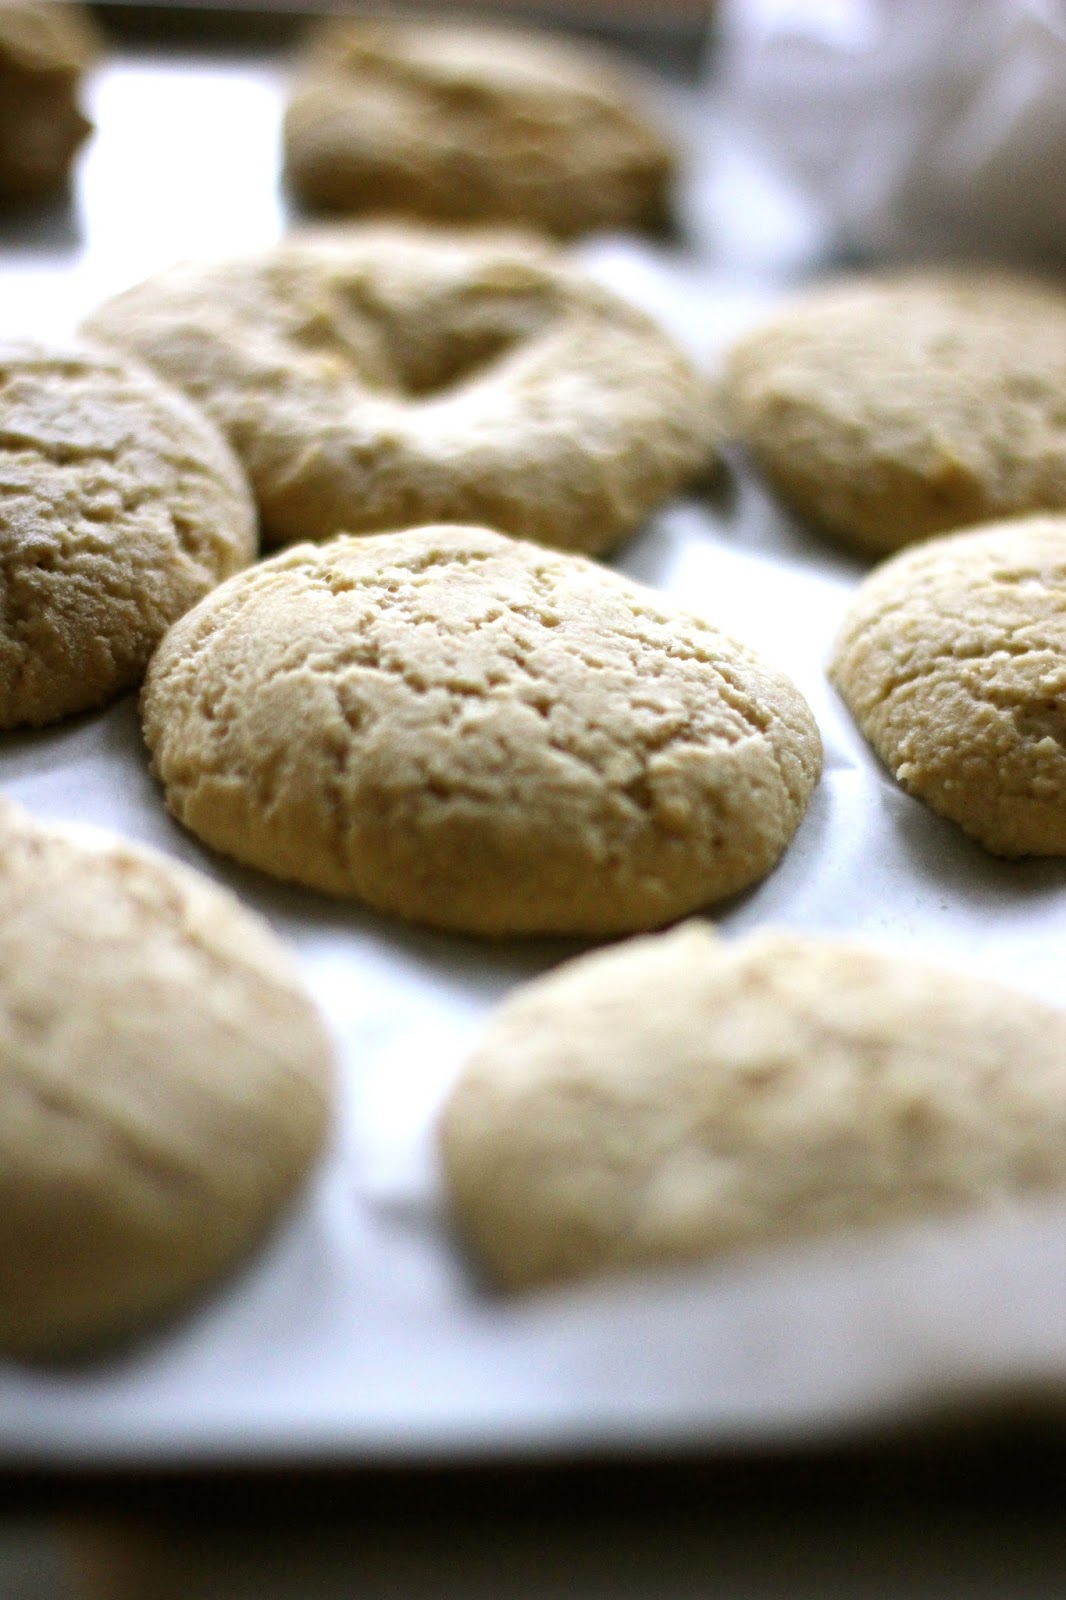
Allow to cool (see below). Then roll into balls and dust with icing sugar or for a bit of bling some of that edible silver strewn over them.
Do not be tempted to pick some up with your fingers to sample mid cooking. Coconut oil has very high cooking temperatures and the mix is very HOT! I am nursing a burnt finger and tongue because i picked it the mix and put it in my mouth just as I realised it was super hot. And then I could not get the scorching hot mix out from where it had lodged evilly underneath my finger nail quick enough. I make these mistakes so you don’t have to. You are welcome.
Happy Diwali. Or any day really.
- Besan laddu
- ½ cup coconut oil melted
- 1¾ cup chickpea (besan/gram) flour
- ¼ tsp pink Himalayan salt
- 3 tbs
- Sukrin Icing sugar
- 3 tbs agave
- Gently melt coconut oil in a pan.
- Add the chickpea flour and roast, stirring constantly 15-20 mins until golden.
- Add in the sugars and the pink salt and stir in well.
- Allow to cool. Then roll into balls and dust with icing sugar or for a bit of bling some of that edible silver strewn over them.


![Glazed Cherry Scones [allergy friendly recipe]](../../wp-content/uploads/2013/07/IMG_9696.jpg)


