Gluten Free Vegan Bread - Review and Giveaway
Being gluten free is so much easier today than it was even 5 years ago. Products are improving all the time and more and more you get to feel like you are really not missing out on anything. Many restaurants are offering gluten free breads and buns so you can still enjoy their sandwiches and burgers. Still not enough though. Just because we are gluten intolerant doesn’t mean we do not want to get a cheeky slice of vegan pizza or a hearty vegan burger of a night! But things are changing and progress is steady. Bread has been one thing I’ve missed over the years. I’ve made my own with varying degrees of success but I am always keeping an eye out for a good gluten free vegan bread I can buy.
I’ve been digging around on the internet to back up my constant scouting of super markets to find a bread that will list itself as vegan and gf. Few exist. One I tried recently was New Grains Bakery They are primarily an online operation but they do have a few stores in various states.
They are a family owned company. A passionate, late diagnosed celiac dad, Tim Lawson, discovered five of his seven (!) children were celiac and he wanted more for them than the grainy, tasteless products that were available to the gluten free population at that time. He and his wife Nicole set to work in their making all the family favourites, but making them gluten free. A company grew out of it as they began to sell their produce.

Like the majority of gluten free breads available in the USA it is not feather light. But it is lighter than most and vegan. When I was sampling it I found over a few days is in the fridge the less light it seems. At this point though it is great toasted. The hamburger buns were delicious teamed with beet and mushrooms burgers that I made. Also a winner with the 11 year old I tested them on. The cinnamon bread is spicy and perfectly sweet and I loved accompanying it with a spread of coconut oil and fruit-sweetened strawberry jam. Or honestly, just by itself. I imagine you could roll up slices and put them in a baking dish and cover with maple icing and they’d be like cinnamon rolls.The English muffins were all devoured by my gluten eating husband. He slathered with peanut butter and topped with ripe banana slices. I think that demonstrates his verdict.
New Grains are not a vegan company but perhaps they may think about using Hampton Creek’s Beyond Egg - egg substitute to make more of their products vegan in the future?!
Among their ever expanding (10 at present) vegan gluten free, 100% organic, non-gmo product range are;
Cinnamon Bread
Sandwich Bread
English Muffins
Hamburger Buns
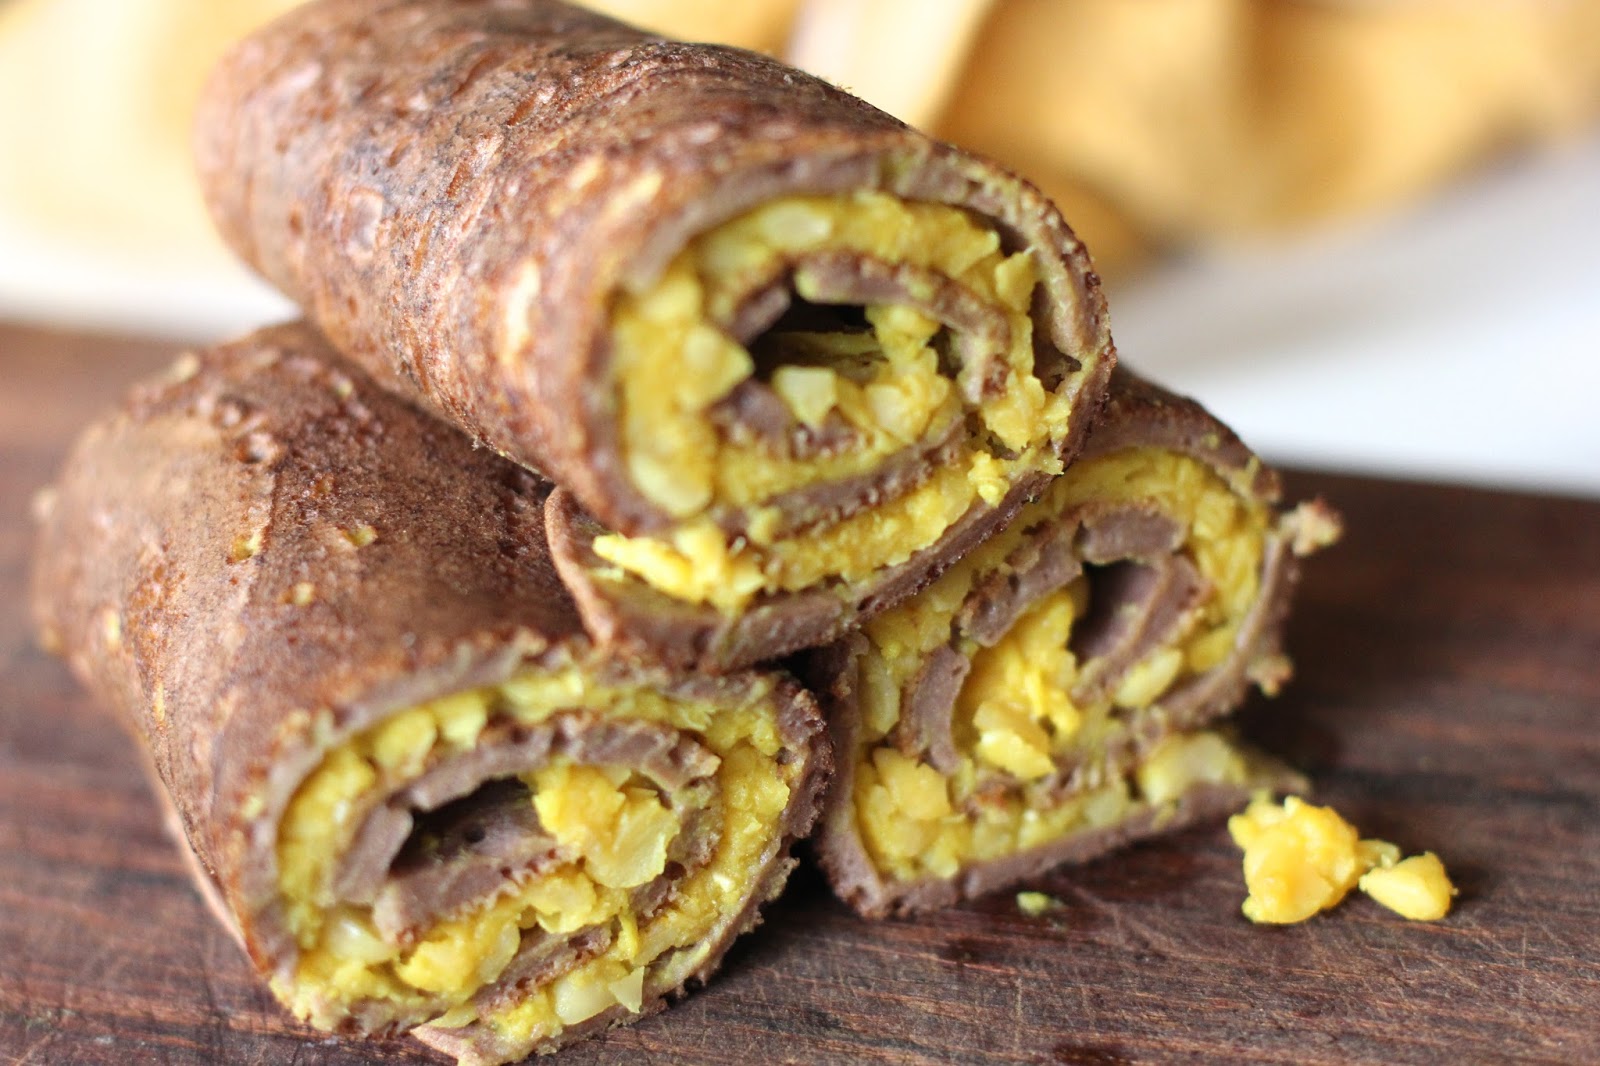
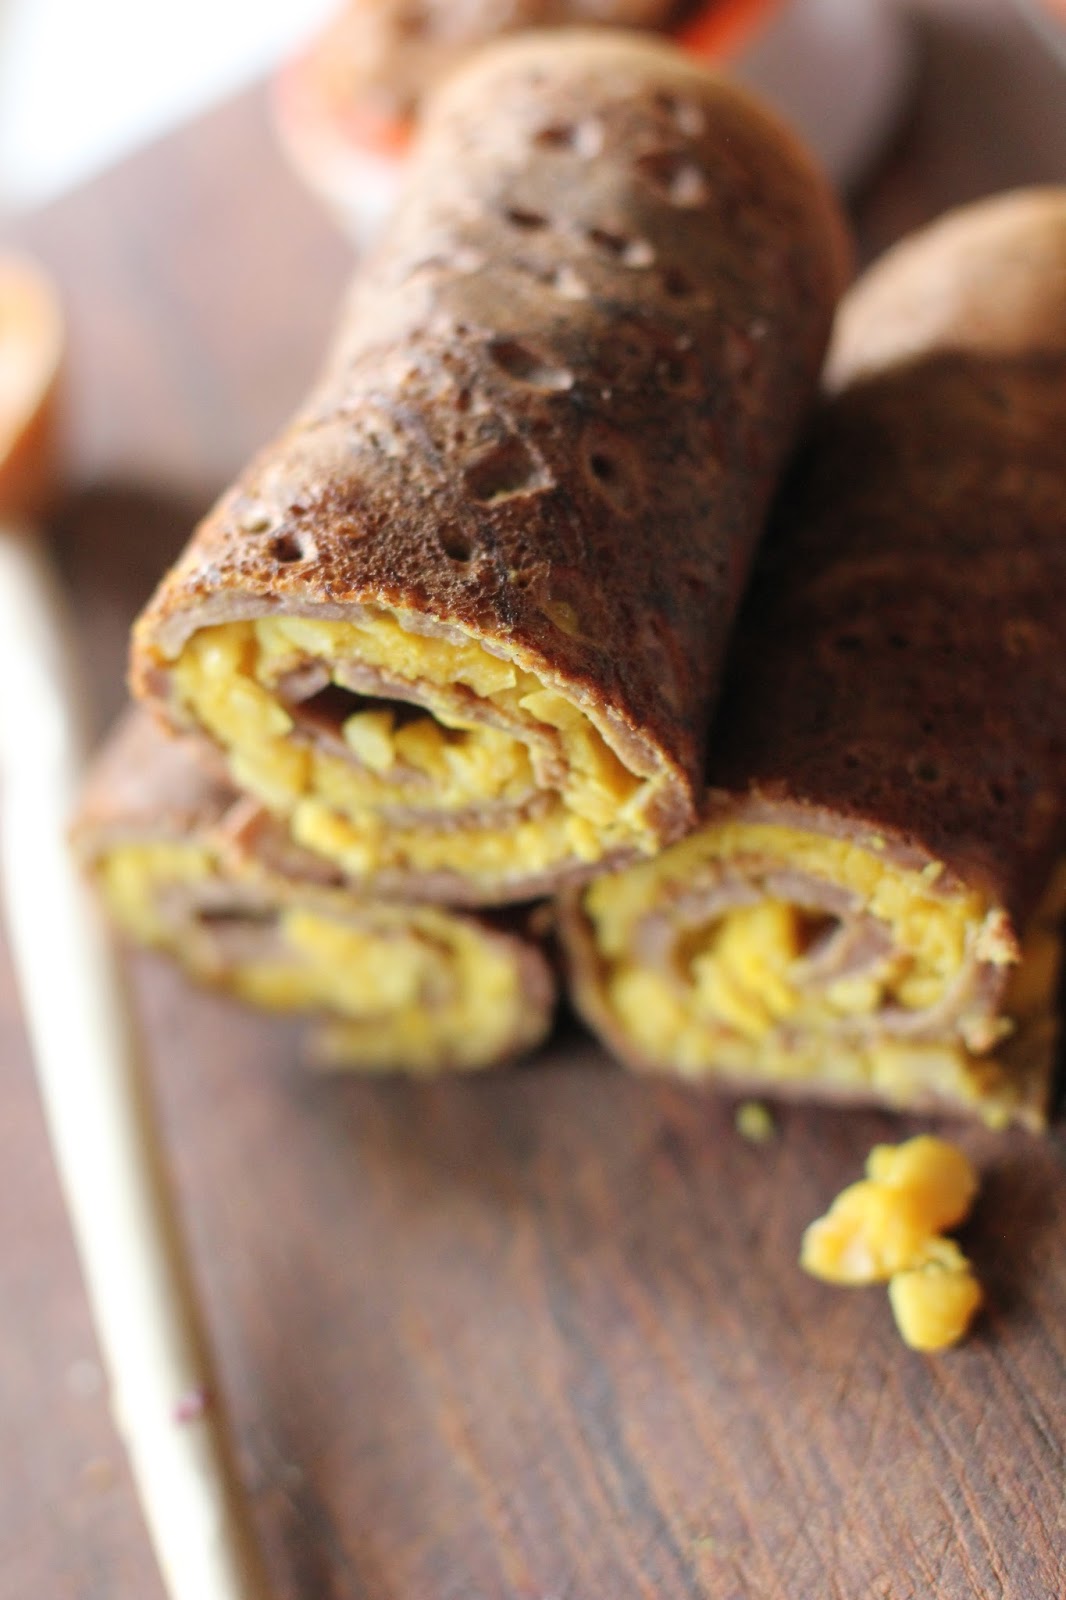
Tortillas
Cookies
We’ve teamed up with New Grains to spread the word. They have a sample box to giveaway to one lucky winner.
Gluten Free Vegan Bread - Review and Giveaway. A sample box of muffins, burger buns and your choice of sandwich or cinnamon bread. Enter below for your chance to win.